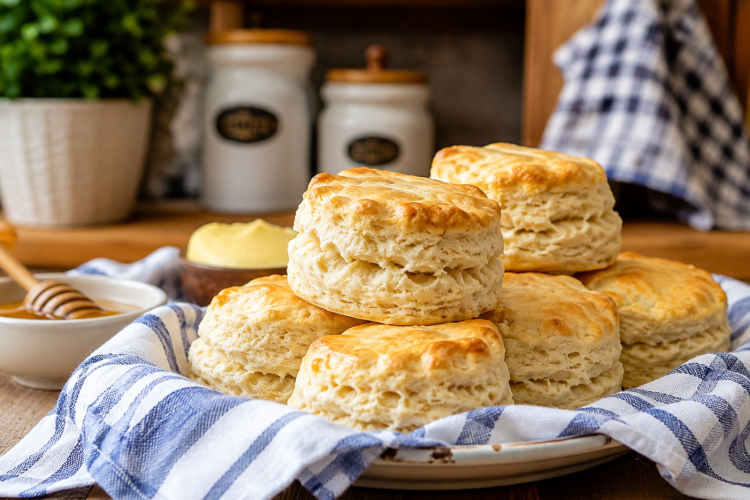
These homemade buttermilk biscuits are soft, tender, buttery, and lightly golden on top. Unlike traditional biscuit recipes that use a firm dough rolled and cut on a floured surface, this recipe uses a very wet biscuit dough that is scooped, coated with all-purpose flour, and baked close together in an 8-inch cake pan. This simple technique helps the biscuits rise upward while keeping their sides soft and tender.
Why These Buttermilk Biscuits Work
The combination of self-rising flour, cold butter, sugar, and buttermilk gives these biscuits their distinctive texture and flavor. The dough is intentionally wetter than the dough used for many traditional biscuits, so it should not be stiff or easy to roll. Instead, extra all-purpose flour is used only during shaping. This keeps the inside soft while making the sticky dough easier to handle.
What Makes This Biscuit Recipe Different
Many homemade biscuit recipes require rolling the dough, cutting circles with a biscuit cutter, and carefully transferring each piece to a baking sheet. This method eliminates those steps. The wet dough is scooped directly into all-purpose flour, lightly coated, and placed into the prepared cake pan. The process is quick, requires less handling, and is especially helpful for anyone who prefers an easy biscuit recipe without complicated shaping.
The Role of Self-Rising Flour
Self-rising flour provides the main structure and leavening for these homemade buttermilk biscuits. Since the recipe specifically uses self-rising flour, there is no need to add separate baking powder or baking soda. The flour is first combined with sugar before the butter and buttermilk are added. For the best results, use the stated type and amount of flour rather than replacing it with ordinary all-purpose flour without making the necessary adjustments.
Why Buttermilk Is Important
Buttermilk gives these biscuits their characteristic tangy flavor while helping create a soft and tender texture. Its liquid hydrates the flour and creates the wet dough required for this particular biscuit-making method. The recipe uses 1-1/3 cups of buttermilk, which provides the loose consistency needed for scooping and coating the dough. Do not immediately add extra flour if the mixture looks wetter than expected, because that consistency is intentional.
The Importance of Cold Butter
Cold butter adds richness and helps create the tender texture associated with homemade biscuits. In this recipe, the butter is grated directly into the flour mixture rather than melted first. Grated butter breaks into small pieces that distribute easily throughout the flour. During baking, those butter pieces melt and contribute flavor and tenderness without requiring extensive mixing or kneading.
Why Grating the Butter Helps
Grating cold butter makes it easier to spread small pieces throughout the flour mixture. As the butter is stirred into the self-rising flour and sugar, the pieces become lightly coated with flour. There is no need to completely blend the butter into the flour. Gentle mixing is enough to distribute it evenly while keeping the preparation simple. Keeping the butter cold before baking also helps preserve the desired biscuit texture.
Balancing the Sugar
The recipe contains 8 teaspoons of sugar, equal to 2 tablespoons plus 2 teaspoons. This amount provides mild sweetness without turning the biscuits into a dessert. The sugar balances the tangy buttermilk and buttery flavor while also helping the biscuit tops develop a pleasant golden color. These biscuits are versatile enough to serve with honey or jam, but they also work beautifully alongside savory breakfast and dinner dishes.
Preparing the Oven and Pan
Preheat the oven to 425°F before beginning the dough. The oven shelf should be positioned slightly below the center. A fully heated oven is important because biscuits need strong heat at the beginning of baking to rise properly and develop color. Prepare an 8-inch cake pan by buttering it and lining it with parchment paper or a silicone liner. The smaller pan allows the biscuits to sit closely together.
Preparing the Shaping Flour
The recipe uses 1 cup of all-purpose flour for shaping the wet dough. This flour should not be mixed into the biscuit dough. Spread it over a small cookie sheet or another flat surface where the dough portions can be placed. The extra flour coats the outside of each portion, making the sticky dough easier to handle without changing the soft consistency of the biscuit mixture.
Mixing the Biscuit Dough
Begin by combining the self-rising flour and sugar in a large mixing bowl. Stir them together so the sugar is evenly distributed. Next, grate the cold butter into the flour mixture and gently stir to coat the butter pieces. Pour in the buttermilk and mix carefully until the ingredients are combined. The finished dough should remain very wet and sticky. Avoid overmixing because excessive handling can result in heavier biscuits.
Why the Dough Should Stay Wet
The wet dough is one of the most important features of this recipe. It may look too loose compared with traditional biscuit dough, but that is exactly how it should be. Instead of adding flour until the mixture becomes firm, the dough portions are coated externally with all-purpose flour. This keeps the inside moist and tender while providing enough structure on the outside to move the dough into the baking pan.
Scooping and Coating the Dough
Use a spoon to scoop portions of the wet dough onto the prepared all-purpose flour. Try to make the portions similar in size so they bake evenly. With floured hands, gently coat each dough portion with flour and lightly toss it from one hand to the other. Shake away excess flour rather than packing a thick layer around the dough. The outside should be manageable while the center remains soft.
Arranging the Biscuits in the Cake Pan
Place each floured dough portion into the prepared 8-inch cake pan, keeping the biscuits close together. They should touch or sit very near one another rather than being widely separated. This arrangement is an important part of the recipe because the biscuits support each other as they bake. With less room to spread sideways, they are encouraged to rise upward, creating taller biscuits with soft sides.
Baking the Buttermilk Biscuits
Place the cake pan on the oven shelf slightly below the center and bake at 425°F for approximately 25 minutes, or until the biscuit tops are lightly browned. Oven temperatures vary, so begin checking toward the end of the recommended baking time. Avoid opening the oven repeatedly during the early stages because maintaining steady heat helps the biscuits rise and develop their structure.
Adding Melted Butter
After the initial baking period, brush the biscuit tops with melted butter. Return the pan to the oven for about five more minutes. This final step gives the biscuits a richer flavor and helps create a beautiful golden-brown finish. Watch the tops carefully during these final minutes because the added butter can encourage faster browning, especially in ovens that run hotter than the stated temperature.
Knowing When the Biscuits Are Done
The finished biscuits should have lightly golden to browned tops and a tender, cooked interior. They should feel set rather than wet when gently touched. Because the dough is intentionally moist, the centers should remain soft rather than dry. If the tops become dark too quickly, keep a close eye on them during the final stage. The goal is a golden exterior with a soft and tender inside.
How to Serve Homemade Buttermilk Biscuits
Fresh buttermilk biscuits are best served warm. For a simple sweet option, split a biscuit and spread it with butter and honey. Jam, preserves, or another favorite spread can also be used. These biscuits are equally useful as a savory side dish. Their mild buttery flavor pairs well with eggs, soups, stews, roasted meats, vegetables, and meals served with gravy or other sauces.
Breakfast Buttermilk Biscuits
These biscuits make an easy and satisfying breakfast side. Serve them warm with butter and honey, or pair them with eggs and other breakfast favorites. Their slightly sweet flavor and tangy buttermilk taste complement both sweet and savory foods. Because the biscuits are soft and tender when fresh, they are particularly enjoyable shortly after baking when the centers are still warm.
Buttermilk Biscuits for Dinner
Homemade biscuits do not have to be limited to breakfast. Their buttery flavor and soft texture make them an excellent side for dinner. Serve them with soups, stews, roasted chicken, vegetables, or other comforting meals. They are also useful for soaking up sauces and gravies. The mild sweetness from the sugar is subtle enough that the biscuits can easily accompany savory dishes.
Tips for Avoiding Tough Biscuits
The most important way to keep these biscuits tender is to avoid overworking the dough. Once the buttermilk has been incorporated, mix only until the ingredients come together. Do not knead the dough or repeatedly stir it. Adding too much flour can also make the biscuits dense. Remember that the dough is supposed to be wet and that the additional all-purpose flour is primarily for coating and shaping.
Avoid Adding Too Much Flour
The 1 cup of all-purpose flour is provided for shaping the dough, not for turning the wet mixture into a traditional firm biscuit dough. Some of the flour may remain unused, and that is completely fine. Lightly coat each portion and shake off the excess before transferring it to the cake pan. Adding large amounts of the shaping flour directly to the dough can change the intended texture and produce heavier biscuits.
Why Baking at 425°F Matters
A hot 425°F oven gives these biscuits the strong initial heat they need to rise and brown properly. If the oven is not fully preheated, the dough may take longer to develop structure and color. Preheat the oven before mixing the ingredients so the prepared biscuits can go into the oven as soon as they are shaped. Consistent heat is especially important for achieving tender centers and golden tops.
Why the Biscuits Are Baked Close Together
The close arrangement inside the cake pan is one of the defining characteristics of this recipe. When biscuit portions are touching, they have less opportunity to spread outward. Instead, they support each other and rise higher during baking. This produces soft sides and a fuller shape. If the dough portions are spread widely across a large baking sheet, the finished biscuits may become flatter and develop more exposed, browned sides.
Keeping the Biscuit Size Consistent
Try to scoop similar amounts of dough for each biscuit. Consistent portions help the biscuits bake at roughly the same rate. If some are much larger than others, the smaller ones may brown before the larger portions are completely cooked. You do not need perfectly shaped biscuits, but using the same spoon or scoop for each portion makes the process easier and creates a more even final result.
Serving With Butter and Honey
Warm biscuits with butter and honey are one of the simplest ways to enjoy this recipe. The warm interior softens the butter while the honey adds sweetness that complements the tangy buttermilk. If you prefer a more savory flavor, use butter alone. The biscuits have a balanced taste that allows them to work with a variety of toppings without overpowering the rest of the meal.
Storage and Reheating
Store leftover baked biscuits in an airtight container at room temperature for up to two days. Keeping them sealed helps prevent the biscuits from drying out. Refrigeration is not recommended in the supplied recipe because the cold environment can make baked biscuits lose some of their tender texture. When ready to serve, reheat them gently so they become warm and soft again.
Freezing Buttermilk Biscuits
According to the supplied recipe information, unbaked biscuits can be frozen for up to three months. This makes the recipe useful for advance preparation. Store the shaped dough portions securely so they are protected from freezer air and moisture loss. When you are ready to bake them, use a suitable baking method and make sure the biscuits are fully cooked before serving.
Notes for First-Time Biscuit Bakers
This is a beginner-friendly biscuit recipe because it avoids rolling, cutting, and kneading. The key details are simple: keep the dough wet, use all-purpose flour only for shaping, handle the dough gently, place the portions close together in an 8-inch cake pan, and bake in a fully preheated 425°F oven. Following these steps helps produce soft, tender homemade buttermilk biscuits with golden, buttery tops.
Biscuits Made with Buttermilk
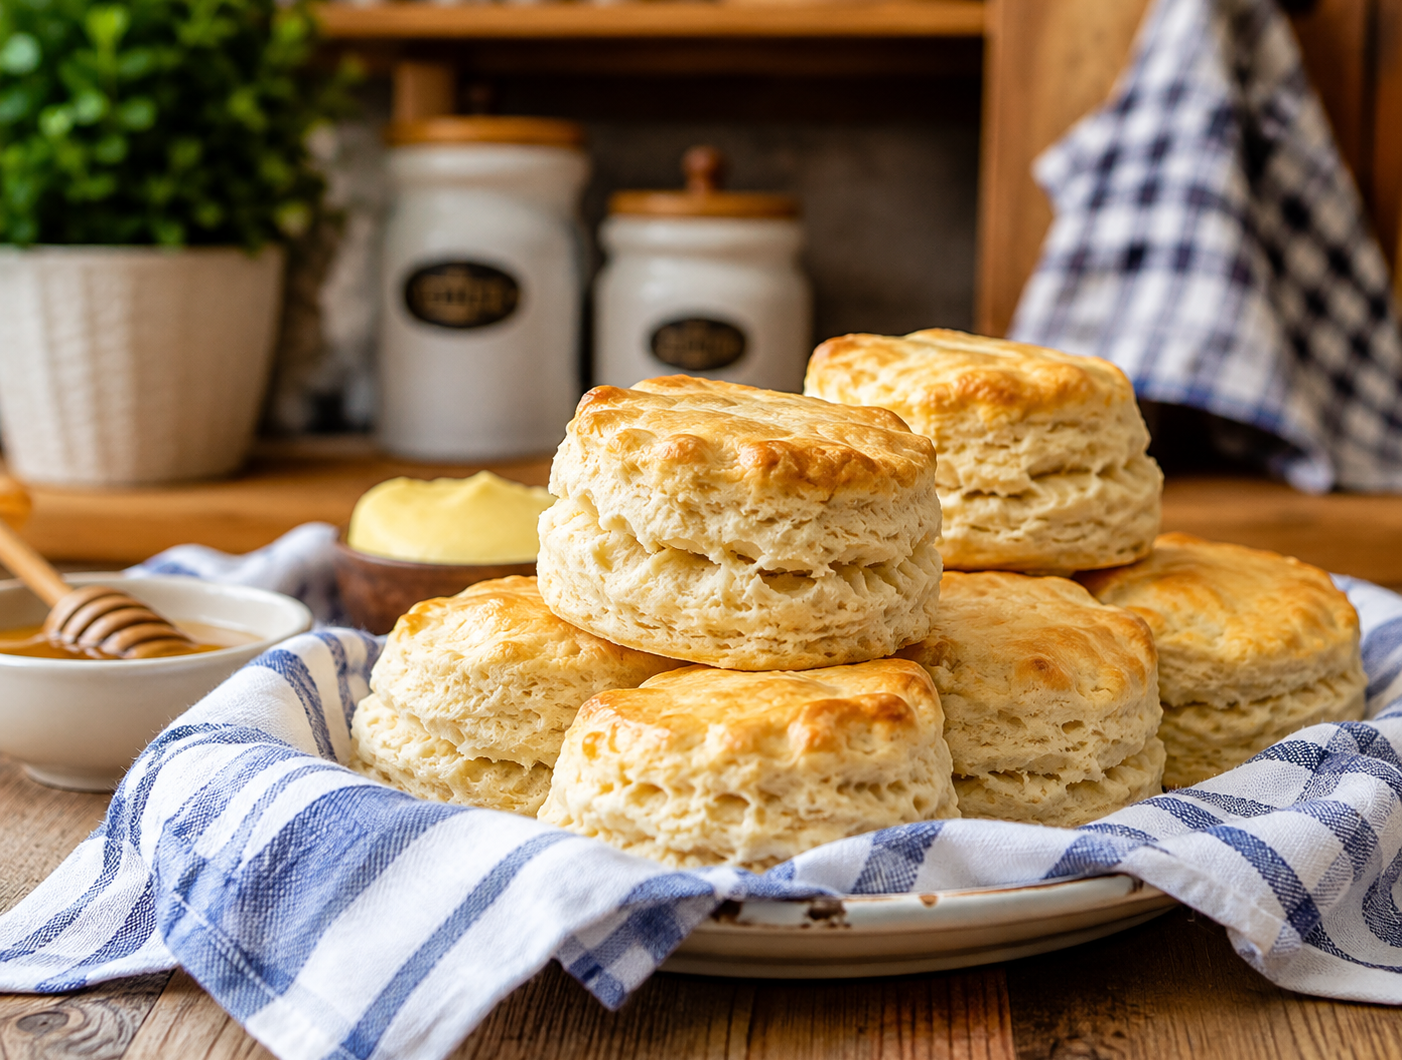
These homemade buttermilk biscuits are soft, tender, buttery, and lightly sweet. A wet dough made with self-rising flour, sugar, butter, and buttermilk is scooped into all-purpose flour, placed closely together in an 8-inch cake pan, and baked until golden. They are delicious served warm with butter and honey.
9
servings15
minutes30
minutes45
minutesIngredients
2-1/3 cups self-rising flour
8 teaspoons sugar (2 tablespoons + 2 teaspoons)
½ cup butter (1 stick)
1-1/3 cups buttermilk
1 cup all-purpose flour, for shaping
Directions
- Prepare the Oven and Pan
- Preheat the oven to 425°F and position an oven shelf slightly below the center. Butter an 8-inch cake pan and line it with parchment paper or a silicone liner.
- Make the Biscuit Dough
- In a large mixing bowl, stir together the self-rising flour and sugar. Grate the butter directly into the flour mixture and stir gently to coat the butter evenly. Add the buttermilk and gently stir until combined. The dough should remain quite wet.
- Prepare the Dough Portions
- Spread the all-purpose flour over a small cookie sheet. Use a spoon to scoop evenly sized portions of dough into the flour, making sure the portions do not touch. With floured hands, lightly coat each dough ball and gently toss it from hand to hand to remove excess flour.
- Arrange and Bake
- Place the floured dough balls into the prepared 8-inch cake pan, positioning them directly next to one another. Work in batches if necessary. Place the pan on the prepared oven shelf and bake for about 25 minutes, or until the biscuits are lightly browned.
- Brown the Biscuit Tops
- Brush the tops of the biscuits with some melted butter. Return the pan to the oven and bake for another 5 minutes, or until the biscuits are nicely browned on top.
- Serve Warm
- Turn the biscuits out onto a plate, then invert them again so they are right side up. Pull or cut the biscuits apart and serve immediately. Serve with butter and honey if desired.


