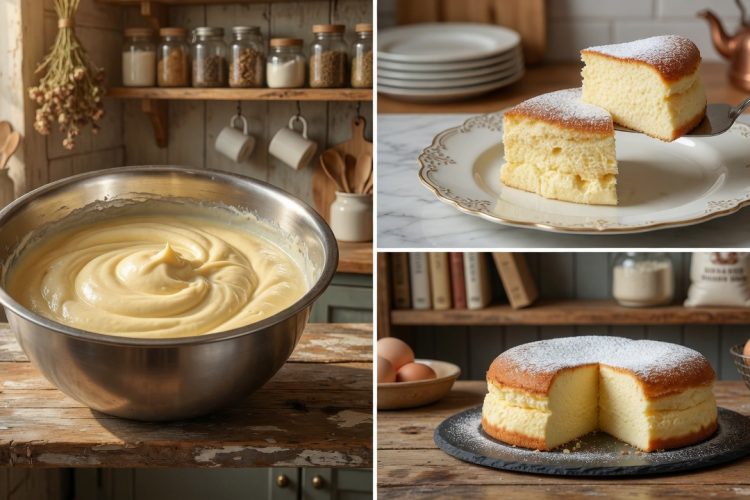
When you want a dessert that feels delicate and special without being too heavy or sweet, this cloud cake delivers exactly that experience. The name perfectly describes the texture because each bite feels incredibly light and soft, almost like eating a sweet cloud. Unlike traditional cakes that use flour as the main structure, this recipe relies on whipped egg whites to create its signature airy texture.
The result is a naturally gluten-free cake with a creamy interior and gentle sweetness that works well for any occasion from casual family dinners to elegant celebrations.
Understanding What Makes This Cake Special
This cloud cake stands apart from regular cakes because of how it’s constructed and what gives it structure. Most cakes depend on flour and chemical leaveners like baking powder to rise and hold their shape. This recipe uses a different approach by whipping egg whites until they’re full of tiny air bubbles, then carefully folding them into a creamy base made from egg yolks, Greek yogurt, and sweetened condensed milk.
When the cake bakes, those air bubbles expand from the heat, causing the cake to rise and creating a sponge-like texture that’s incredibly soft. The small amount of cornstarch helps stabilize everything so the cake doesn’t collapse completely after cooling.
Why Egg Whites Need Special Attention
The success of this cloud cake depends almost entirely on properly whipped egg whites, so understanding this step is crucial. Egg whites are made mostly of water and protein, and when you beat them, the proteins unfold and trap air bubbles. The more you whip, the more air gets incorporated, until eventually the whites become thick and fluffy enough to stand in peaks.
For this recipe, you need stiff peaks, which means the whites should stand straight up when you lift the beaters without drooping over. Getting to this stage requires clean equipment because even a tiny bit of grease or egg yolk can prevent the whites from whipping properly.
Preparing Your Equipment Correctly
Before you start mixing anything, getting your equipment ready makes the whole process run more smoothly and helps ensure success. The springform pan needs parchment paper on the bottom and sides so the delicate cake doesn’t stick when you try to remove it. Wrapping the outside of the pan with two layers of aluminum foil creates a waterproof barrier that’s essential when you bake the cake in a water bath.
Make sure your mixing bowls are completely clean and dry, especially the one for whipping egg whites. Even a drop of water or oil can interfere with the whipping process. Having everything prepared ahead means you can work quickly once you start mixing.
Separating Eggs Without Breaking Yolks
One of the most important steps in this recipe happens right at the beginning when you separate the eggs. You need the whites completely free of any yolk because the fat in egg yolks prevents whites from whipping up properly. The easiest method is to crack each egg over a small bowl, letting the white fall into the bowl while keeping the yolk in the shell. Transfer the yolk back and forth between the shell halves to let all the white drip out. Once you’re sure a white is yolk-free, add it to your main mixing bowl. If a yolk breaks and gets into the whites, you’ll need to start over with clean whites for best results.
Making the Creamy Base
While the egg whites provide structure and lightness, the yolk mixture creates the rich, creamy part of this cake that makes it taste so good. Whisking together egg yolks, full-fat Greek yogurt, sweetened condensed milk, and vanilla creates a thick, smooth base with a beautiful yellow color. The Greek yogurt adds tanginess and creaminess while providing some protein structure. The sweetened condensed milk contributes sweetness and moisture, plus it helps keep the cake tender. Sifting the cornstarch before adding it prevents lumps from forming, which would create an uneven texture in the finished cake. Mix everything thoroughly until you have a completely smooth mixture.
Whipping Egg Whites to Stiff Peaks
Getting the egg whites whipped to exactly the right consistency makes the difference between a cake that rises beautifully and one that stays flat. Start beating the whites on medium speed until they become foamy, then increase to high speed. Watch the texture carefully as it changes from foamy to soft peaks, where the peaks droop over when you lift the beaters, and finally to stiff peaks, where the peaks stand straight up. This usually takes about five to seven minutes with a hand mixer. Stop before the whites become dry and clumpy, which happens if you beat them too long. Perfectly whipped whites should look glossy and smooth.
Folding Without Deflating
The trickiest part of making cloud cake is combining the fluffy egg whites with the dense yolk mixture without losing all the air you just incorporated. This is where the folding technique becomes essential. Add about one quarter of the whipped whites to the yolk mixture first and fold gently with a rubber spatula, cutting down through the middle and sweeping up the sides. This first addition lightens the heavy base so it’s easier to incorporate the remaining whites. Add the rest of the whites in portions, folding gently after each addition. Avoid stirring in circles or mixing vigorously, which would pop the air bubbles and make the cake dense instead of light.
Why Water Bath Baking Works
Baking this delicate cake in a water bath might seem like extra trouble, but it serves several important purposes. The hot water surrounding the cake pan creates gentle, even heat that helps the cake bake slowly and uniformly. This prevents the outside from cooking too fast while the inside stays raw. The moist environment created by the steaming water also keeps the cake from drying out or developing cracks on top. The stable, moderate temperature provided by the water bath is much gentler than direct oven heat, which is perfect for this delicate, custard-like cake. Make sure the water comes about halfway up the sides of the cake pan for best results.
Baking at the Right Temperature
Setting your oven to 320 degrees Fahrenheit creates the moderate heat needed for this cake to rise slowly and bake evenly without burning. Higher temperatures would cause the outside to set too quickly while the inside stays liquid, and the cake would crack on top. Lower temperatures would take too long and the cake might not rise properly. Every oven runs a bit differently, so if you know yours tends to run hot or cold, adjust the temperature accordingly. Most importantly, resist the urge to open the oven door during baking because the sudden temperature drop can cause the cake to collapse.
Cooling Without Collapsing
How you cool this cake after baking is almost as important as how you bake it. Turning off the oven but leaving the cake inside with the door cracked open allows the temperature to decrease gradually instead of suddenly. This slow cooling prevents the cake from experiencing a shock that would cause it to sink dramatically in the center. After about thirty minutes of gradual cooling, you can remove the cake from the oven and let it finish cooling at room temperature. Some settling is normal and expected as the air bubbles cool and contract, so don’t worry if the cake isn’t quite as tall as it was in the oven.
Chilling for Best Texture
While you could serve this cake at room temperature, refrigerating it for several hours or overnight significantly improves the texture. The cold temperature allows the cake to firm up enough that you can slice it cleanly without it falling apart. Chilling also intensifies the flavors and makes the creamy texture even more apparent. The cake should feel slightly firm to the touch on the outside but still soft and tender when you cut into it. Many people actually think this cake tastes better the next day after the flavors have had time to develop and meld together in the refrigerator.
Slicing for Perfect Servings
Getting neat, clean slices from this delicate cake requires the right technique. Use a long, thin knife and wipe it clean with a damp cloth between each cut to prevent dragging crumbs through the cake. A gentle sawing motion works better than pressing straight down, which can compress the airy texture. Because the cake is so soft, you might find it easier to slice if it’s well chilled. Plan to make slightly thicker slices than you might with a regular cake since this one is so light and airy. Each slice should show the creamy, uniform texture throughout with no dense spots or air pockets.
Decorating Simply but Beautifully
This cloud cake is naturally beautiful with its golden-brown top and creamy interior, so it doesn’t need elaborate decorations. A simple dusting of powdered sugar creates an elegant finish that makes the cake look bakery-quality. Fresh berries arranged on top or around the base add beautiful color and provide a tart contrast to the sweet cake. A few fresh mint leaves tucked among the berries create visual interest. You can also add a drizzle of berry sauce, chocolate sauce, or caramel for extra flavor. The key is keeping decorations simple so they complement rather than overwhelm the delicate cake.
Creating Flavor Variations
Once you’ve mastered the basic cloud cake, trying different flavors keeps things interesting and lets you customize the dessert for different occasions. Adding citrus zest like lemon, lime, or orange to the yolk mixture creates bright, fresh flavors perfect for spring and summer. A tablespoon of cocoa powder makes a chocolate version, though you might need to add a bit more sweetness since cocoa is bitter. Instant espresso powder creates a coffee-flavored cake. Matcha powder gives you a green tea version with a beautiful color. Different extracts like almond, coconut, or maple can replace the vanilla for unique flavor profiles.
Serving with Complementary Flavors
This cloud cake’s mild sweetness and delicate texture make it the perfect canvas for various toppings and accompaniments. Fresh whipped cream adds richness without being too heavy. Berry compote provides fruity tartness that balances the sweet cake. A drizzle of honey or maple syrup enhances the natural sweetness. Greek yogurt dolloped on top adds tangy creaminess. Fruit salad served alongside creates a refreshing combination. Hot beverages like coffee, tea, or hot chocolate complement the cake’s subtle flavors. The cake is also delicious simply enjoyed on its own, especially when it’s cold from the refrigerator.
Storing Leftovers Properly
This cake keeps well in the refrigerator, which makes it great for preparing ahead or enjoying over several days. Once the cake has cooled completely, you can cover it while still in the springform pan or transfer it to an airtight container. Either way, make sure it’s covered to prevent it from drying out or absorbing refrigerator odors. Properly stored, the cake stays fresh and delicious for up to four days. The texture remains soft and creamy throughout this time. While you can freeze this cake, the delicate texture may change slightly after thawing, becoming a bit denser, though it will still taste good.
Troubleshooting Common Problems
Sometimes cloud cakes don’t turn out quite right, but understanding what went wrong helps you fix it next time. If the cake sinks dramatically after cooling, the egg whites probably weren’t whipped enough or were deflated during folding. A dense, heavy texture instead of light and airy means the whites weren’t incorporated properly or were overmixed. Cracks on top usually indicate the oven was too hot. A wet, undercooked center means the cake needed more baking time or the oven temperature was too low. Uneven rising or texture suggests the batter wasn’t mixed uniformly or the oven heat wasn’t even.
Understanding Why This Recipe Works
The science behind this cloud cake explains why following the recipe carefully produces such reliable results. The proteins in egg whites change structure when beaten, creating a foam that traps air. Heat from baking causes that air to expand, making the cake rise. The cornstarch provides structure by absorbing moisture and creating a network that holds the cake together. The fat and protein in Greek yogurt add richness and help create a tender crumb. The sweetened condensed milk adds sweetness while its milk proteins contribute to the cake’s structure. The water bath prevents rapid temperature changes that would cause cracking or uneven baking.
Making This Cake for Special Occasions
This elegant cloud cake works beautifully for celebrations and special meals. Its sophisticated appearance and delicate flavor make it suitable for formal dinner parties or holiday gatherings. The naturally gluten-free recipe accommodates guests with dietary restrictions. You can dress it up with fancy decorations for birthdays or anniversaries, or keep it simple for casual get-togethers. Making it a day ahead reduces stress when you’re entertaining. The light texture makes it an ideal dessert after heavy meals because it won’t leave people feeling too full. Every guest will be impressed by how professional and delicious this homemade cake looks and tastes.
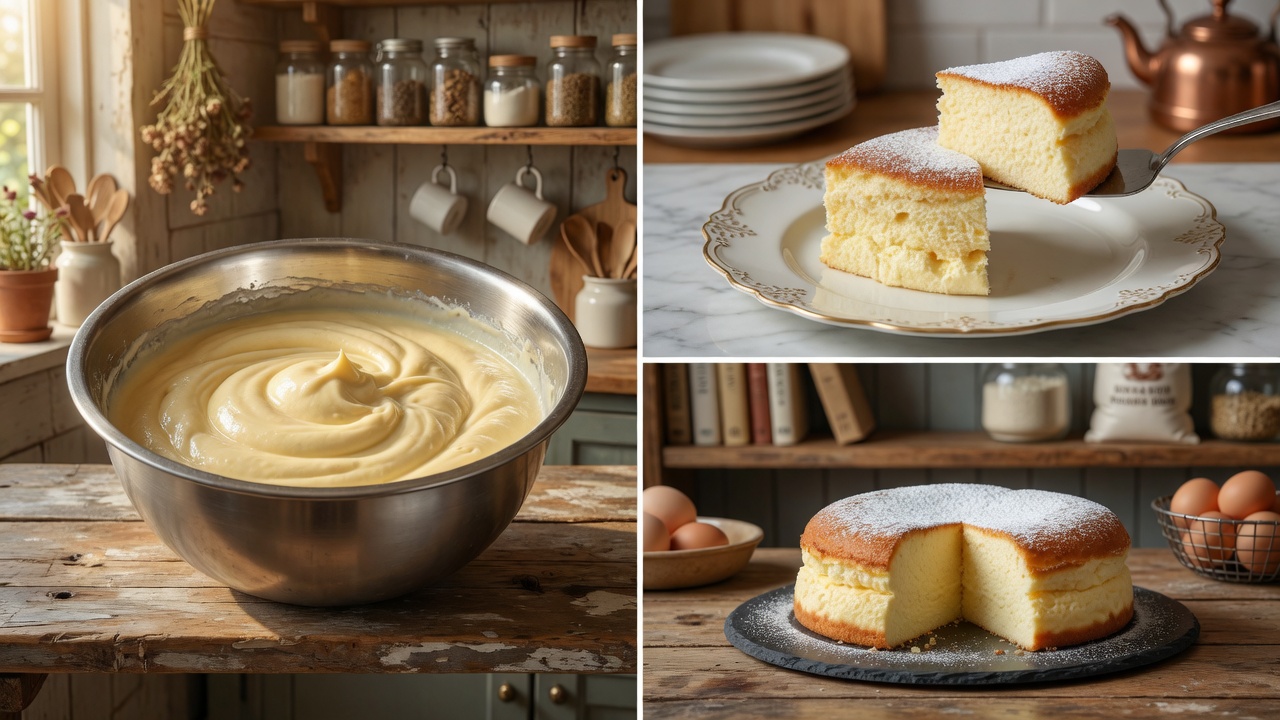
Keto Cloud Cake
Ultra-light and airy Japanese-style cake made with whipped egg whites, Greek yogurt, and sweetened condensed milk for a delicate, naturally gluten-free dessert with a creamy texture.
8
slices20
minutes45
minutes190
kcal30
minutes1
hour35
minutesIngredients
- Main Ingredients:
4 large eggs
1 cup (240g) full-fat Greek yogurt
1 cup (240g) sweetened condensed milk
1 tablespoon cornstarch
1 teaspoon vanilla bean paste or vanilla extract
- Optional Garnishes:
Powdered sugar
Fresh strawberries
Blueberries
Raspberries
Fresh mint leaves
Lemon zest
Directions
- Prepare pan and oven: Preheat oven to 320°F (160°C). Line an 8-inch springform pan with parchment paper on bottom and sides. Wrap outside of pan with two layers of aluminum foil to waterproof it.
- Separate eggs: Carefully separate egg whites from yolks, placing whites in a completely clean, grease-free bowl and yolks in another mixing bowl.
- Make yolk mixture: Add Greek yogurt, sweetened condensed milk, and vanilla to egg yolks. Whisk until smooth and creamy. Sift cornstarch over mixture and whisk until no lumps remain.
- Whip egg whites: Beat egg whites with electric mixer on medium speed until foamy, then increase to high speed. Continue beating until stiff peaks form that stand straight up when beaters are lifted.
- Fold together: Add one-quarter of whipped egg whites to yolk mixture and fold gently with rubber spatula. Continue adding remaining whites in portions, folding gently after each addition until fully incorporated. Avoid vigorous stirring.
- Bake in water bath: Pour batter into prepared pan and tap lightly on counter to release large air bubbles. Place pan in deep roasting pan and pour hot water into roasting pan until it reaches halfway up sides of cake pan. Bake for 45 minutes without opening oven door.
- Cool gradually: Turn off oven and leave cake inside with door slightly open for 30 minutes. Remove from oven and cool completely at room temperature. Refrigerate for at least 2 hours or overnight before serving. Dust with powdered sugar and top with fresh berries before serving.
Nutrition Facts
- Calories: 190kcal
- Carbohydrates: 22g
- Fiber: 0g
- Sugar: 20g
- Protein: 7g


