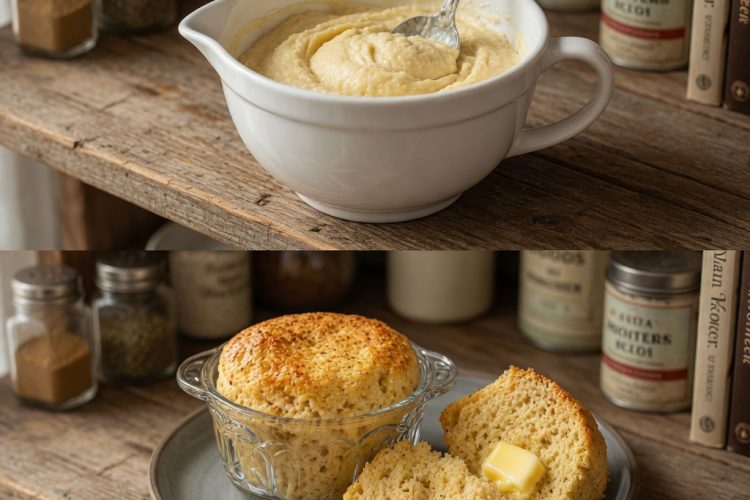
When you’re following a keto or low-carb eating plan and miss having bread with your meals, this zero carb bread in a mug offers a fast solution that takes just minutes to prepare. Using only three basic ingredients that you probably already have in your kitchen, this recipe creates a soft, fluffy bread alternative without any flour, yeast, or sugar. The entire process from mixing to eating takes about four minutes, with only ninety seconds of actual cooking time in the microwave. This makes it one of the fastest homemade bread recipes available for anyone who needs a quick breakfast, lunch component, or dinner side dish that fits their dietary goals.
Why Egg-Based Bread Works
Understanding how this bread achieves its texture without traditional flour helps you appreciate why the recipe works so well. Regular bread gets its structure from gluten, which forms when wheat flour mixes with water and creates stretchy strands that trap air bubbles. Since this recipe contains no flour, it relies on eggs to provide structure instead. When you beat eggs and heat them, the proteins coagulate and create a firm but tender texture. The baking powder releases carbon dioxide gas that creates tiny air pockets throughout the egg mixture, making it rise and become fluffy instead of dense. The butter adds moisture and richness that prevents the bread from becoming dry or rubbery.
Choosing the Right Mug
The container you use for making this bread matters more than you might think. You need a microwave-safe mug that holds at least twelve ounces because the batter expands significantly as it cooks. Ceramic mugs work well because they heat evenly and don’t leach chemicals into food. Glass measuring cups also work perfectly. Avoid using mugs with metallic trim or decoration because metal can cause sparking in the microwave. The mug should have straight or slightly flared sides rather than narrow openings, which makes removing the finished bread much easier. Greasing the inside of whatever container you choose prevents sticking and helps the bread slide out cleanly.
Preparing Eggs Properly
The way you handle the eggs directly affects the final texture of your bread. Room temperature eggs whip up lighter and fluffier than cold eggs straight from the refrigerator, so leaving them out for thirty minutes before cooking helps. When you crack the eggs into the mug, make sure to whisk them very thoroughly with a fork until the yolks and whites are completely combined with no streaks remaining. Vigorous whisking incorporates air into the mixture, which contributes to a lighter texture. Taking the time to whisk for at least thirty to forty-five seconds makes a noticeable difference. The mixture should look pale yellow and slightly frothy when it’s ready.
Understanding Baking Powder’s Role
Adding just a quarter teaspoon of baking powder might seem insignificant, but it’s essential for creating the right texture. Baking powder is a chemical leavener that contains both an acid and a base. When it gets wet and then heated, it releases carbon dioxide bubbles that make baked goods rise. In this recipe, those bubbles expand the egg mixture and create a bread-like texture instead of a dense, flat egg cake. Make sure your baking powder is fresh because old baking powder loses its effectiveness and won’t create enough rise. You can test baking powder by mixing a bit with hot water—if it fizzes actively, it’s still good.
Melting Butter in the Mug
Starting by melting the butter directly in the mug serves multiple purposes beyond just getting the butter liquid. The melted butter coats the inside of the mug slightly, which helps prevent sticking even if you didn’t grease it separately. Microwaving the butter for ten to fifteen seconds is usually enough to melt it completely. Let the melted butter cool for about thirty seconds before adding the eggs because if it’s too hot, it could start cooking the eggs immediately when you add them, which would create scrambled bits instead of a smooth batter. The cooled but still liquid butter mixes evenly throughout the egg mixture.
Getting Microwave Timing Right
Every microwave operates at a different wattage, which means cooking times can vary quite a bit between different appliances. Most microwaves run between 700 and 1200 watts. If you have a high-wattage microwave, ninety seconds might be perfect, but lower-wattage models might need closer to two minutes. The bread is done when the top feels firm to the touch and springs back slightly when pressed gently. The center should no longer look wet or jiggly. If you’re unsure, it’s better to check early and add more time in ten-second increments rather than overcooking, which makes the bread rubbery and tough.
Cooling Before Removing
Letting the bread rest in the mug for a minute or two after cooking might test your patience, but it’s worth the wait. During this cooling time, the structure continues to set and firm up slightly, which makes the bread easier to handle and less likely to fall apart. The brief rest also allows the bread to pull away from the sides of the mug naturally, making removal much simpler. If you try to remove it immediately, it might stick or tear. After a minute or two, you can run a butter knife around the edges if needed, then flip the mug over onto a plate and the bread should slide right out.
Slicing for Different Uses
How you cut this bread depends on what you plan to use it for. For traditional toast or to eat with butter, slicing it horizontally into two or three rounds works best. This gives you flat surfaces perfect for toasting or spreading with toppings. If you want to make a sandwich or burger bun, cutting it in half horizontally creates two pieces that work like bread slices. You can also cut it into cubes for croutons or tear it into pieces for a bread bowl. Use a sharp, serrated knife and a gentle sawing motion to avoid compressing the soft texture.
Toasting for Better Texture
While this mug bread tastes good straight from the microwave, toasting it afterward significantly improves the texture and makes it feel more like traditional bread. The heat from toasting dries out the surface slightly and creates a firmer, crispier exterior while the inside stays soft. You can use a regular toaster, toaster oven, or even a skillet on the stove. Toasting also reduces the eggy flavor that some people notice in the plain version. Spreading butter on the bread before toasting adds richness and helps it brown beautifully. The toasted version holds up better for sandwiches because it’s less likely to get soggy from fillings.
Adding Flavors and Seasonings
The basic three-ingredient version creates a mild, neutral bread that works with any meal, but adding seasonings transforms it into something more interesting. A pinch of salt enhances all the other flavors without making the bread taste salty. Garlic powder and onion powder create a savory bread perfect for serving with dinner. Italian seasoning, dried basil, or oregano make it taste like garlic bread. Everything bagel seasoning sprinkled on top before microwaving adds crunch and complex flavor. Shredded cheese mixed into the batter creates a richer, more indulgent bread. Start with small amounts of seasonings and adjust based on your preferences.
Making Cheese Versions
Adding cheese to this bread recipe creates an entirely different eating experience that many people prefer to the plain version. Shredded cheddar, mozzarella, parmesan, or any other cheese that melts well can be stirred into the batter before cooking. About two tablespoons of shredded cheese is enough to add flavor without making the bread too dense or greasy. The cheese melts into the egg mixture and creates pockets of rich, savory flavor throughout. It also helps mask the egg taste that bothers some people. The cheese makes the bread slightly more moist and tender while adding protein and fat that make it more satisfying.
Storing and Meal Prepping
While this bread is best fresh, you can make it ahead of time for meal prep purposes. After the bread has cooled completely, store it in an airtight container in the refrigerator for up to three days. The texture will firm up as it chills, but reheating or toasting brings back much of the original softness. For longer storage, wrap individual pieces in plastic wrap or parchment paper and freeze them for up to a month. Frozen bread can go straight into the toaster from the freezer, which makes it very convenient. Making several mugs at once on Sunday can provide bread for the entire week.
Using as Sandwich Bread
This mug bread works surprisingly well as a replacement for regular sandwich bread when you follow a few tips. Toast both halves before assembling your sandwich to create a sturdier base that won’t get soggy from condiments or fillings. Pat wet ingredients like tomatoes or pickles dry before adding them to reduce moisture. Use spreads like mayonnaise, mustard, or cream cheese sparingly. Layer lettuce leaves between the bread and wet fillings to create a barrier. The bread holds up best with drier fillings like sliced deli meat, cheese, or leftover grilled chicken. Pressing the sandwich lightly before eating also helps it stay together.
Creating Burger Buns
When you want a low-carb burger but miss having a bun, this recipe solves that problem perfectly. Make two mugs of bread so you have both a top and bottom bun. Let them cool slightly, then slice each one in half horizontally. Toast all four pieces to give them structure that can support a juicy burger patty. The toasted bread won’t fall apart when you bite into the burger the way untoasted versions might. These buns work for any type of burger including beef, turkey, chicken, or veggie patties. They also make great breakfast sandwich buns for egg and sausage or bacon.
Comparing to Other Keto Breads
Several types of keto bread exist, and understanding how this mug bread compares helps you choose the right option for different situations. Cloud bread made from cream cheese and eggs has a fluffier, more delicate texture but requires more ingredients and time. Almond flour bread tastes more like traditional bread but contains more carbs and calories. Coconut flour bread can be dry and requires many eggs. This mug bread falls somewhere in the middle—it’s quick and simple like cloud bread but sturdier, and while it doesn’t taste exactly like wheat bread, it provides a satisfying bread-like experience with minimal effort and ingredients.
Understanding the Nutrition
This bread fits perfectly into very low-carb eating plans because it contains almost zero carbohydrates. The two eggs provide about twelve grams of protein and healthy fats from both the yolks and the butter. Unlike grain-based breads that spike blood sugar, this egg-based version has minimal impact on glucose levels, making it suitable for people with diabetes or those following ketogenic diets for therapeutic reasons. The high protein content helps keep you full and satisfied. The fats from butter and egg yolks provide energy and help your body absorb fat-soluble vitamins. Each serving contains roughly 200-250 calories depending on egg size.
Adapting for Different Diets
This recipe naturally fits several different eating approaches beyond just keto. People following carnivore diets can eat it since eggs and butter come from animal sources. Those avoiding gluten for celiac disease or sensitivity can enjoy it safely since it contains no wheat or grains. Grain-free eaters appreciate that it provides bread texture without any grains. For dairy-free diets, substitute the butter with coconut oil or another dairy-free fat. The recipe doesn’t work for vegan diets since eggs are essential to the structure. People with egg allergies cannot make this bread, but other keto bread recipes using different bases might work for them.
Troubleshooting Common Issues
Sometimes this bread doesn’t turn out quite right, but knowing what went wrong helps you fix it. If the bread is rubbery or tough, you probably overcooked it or didn’t whisk the eggs enough before cooking. A bread that’s too dense and heavy suggests you need fresh baking powder or should whisk the eggs more vigorously. If it sticks to the mug, grease the container more thoroughly next time. Bread that tastes too eggy benefits from added seasonings, cheese, or toasting. Uneven cooking with a raw center means your microwave has hot spots, so try rotating the mug halfway through. Bread that overflows the mug needs a larger container.
Getting Creative with Toppings
Once you have the basic bread made, the topping possibilities are endless. Butter is classic and never gets old, especially when the bread is still warm. Cream cheese provides protein and richness. Avocado adds healthy fats and creates a satisfying breakfast or lunch. Sugar-free jam or jelly gives you a sweet option that still fits low-carb eating. Peanut butter or almond butter works for breakfast or snacks. Mashed sardines or tuna salad create a protein-packed lunch. Sliced hard-boiled eggs with mayo make egg salad toast. Smoked salmon with cream cheese feels fancy enough for brunch. Each topping transforms the neutral bread into something new.
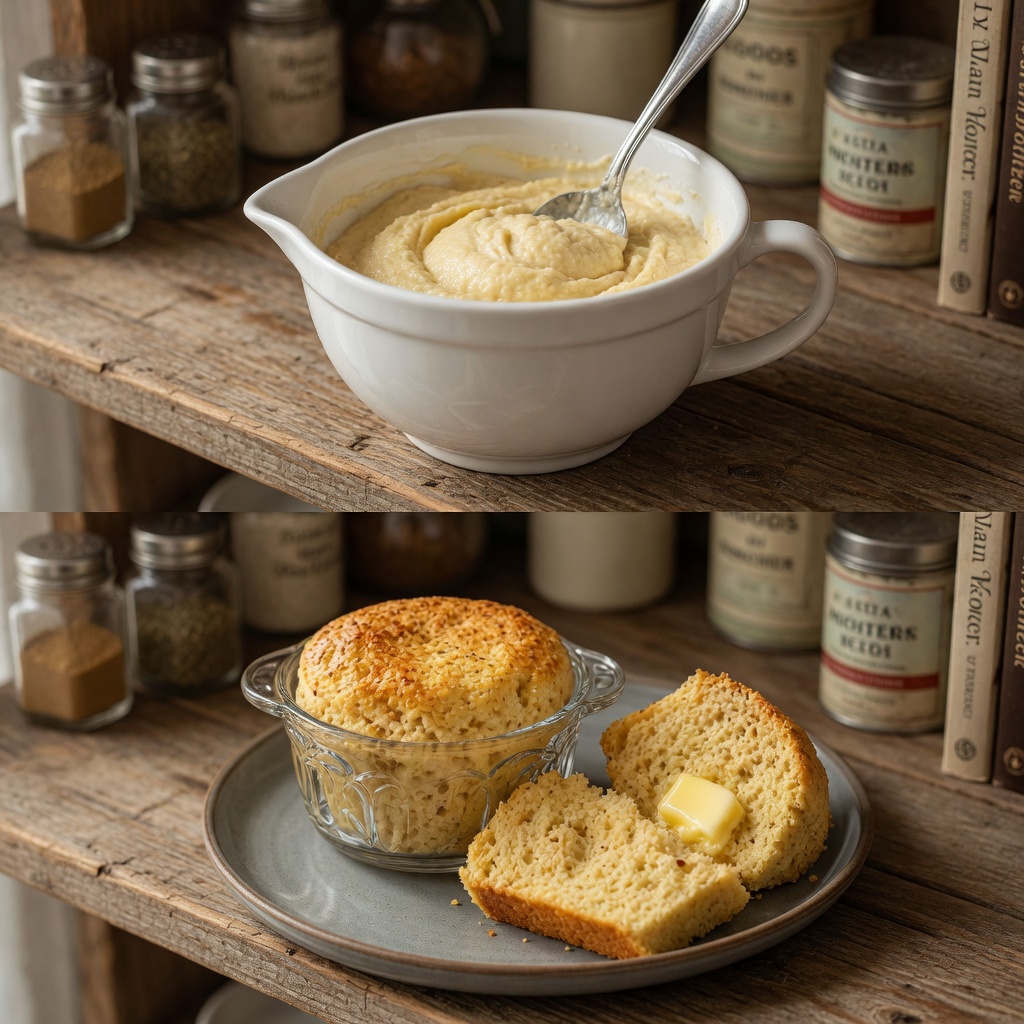
Zero Carb Bread in a Mug (Ready in Just 90 Seconds)
Quick microwave bread made with just eggs, butter, and baking powder for a soft, fluffy, low-carb bread alternative ready in 90 seconds.
4
servings2
minutes1
hour30
minutes230
kcalIngredients
- Main Ingredients:
2 large eggs
1 tablespoon melted butter
¼ teaspoon baking powder
- Optional Seasonings:
Pinch of salt
Garlic powder
Onion powder
Italian seasoning
Dried parsley
Black pepper
Everything bagel seasoning
2 tablespoons shredded cheese (cheddar, mozzarella, or parmesan)
Directions
- Prepare mug: Lightly grease the inside of a microwave-safe mug (at least 12 oz capacity) with butter or cooking spray.
- Melt butter: Place 1 tablespoon butter in the mug and microwave for 10-15 seconds until melted. Let cool for 30 seconds.
- Add eggs: Crack both eggs into the mug with melted butter. Whisk thoroughly with a fork for 30-45 seconds until completely combined and slightly frothy.
- Mix in baking powder: Add baking powder and any optional seasonings. Stir well until smooth with no lumps.
- Microwave: Cook on high power for 90 seconds. Cooking time may vary by microwave wattage—add 10-second intervals if center is still wet.
- Cool and serve: Let bread cool in mug for 1-2 minutes. Run a knife around edges, flip onto a plate, and slice horizontally. Toast slices if desired and serve warm.


