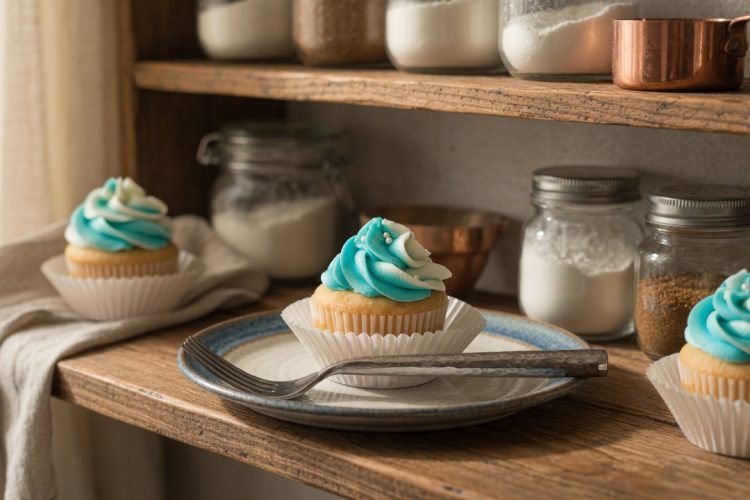
Baking cupcakes without gluten or dairy doesn’t mean sacrificing taste or texture. These gluten-free vanilla cupcakes deliver the same soft, fluffy crumb you expect from traditional bakery treats. The recipe uses simple pantry ingredients and comes together in under 35 minutes from start to finish.
Whether you’re managing dietary restrictions or simply exploring new baking options, these cupcakes offer a reliable solution. The vanilla flavor shines through in every bite, making them suitable for birthdays, celebrations, or everyday treats.
Why This Gluten-Free Cupcake Recipe Works
The success of any gluten-free baked good depends on the right flour blend and proper ingredient ratios. This recipe uses a reliable all-purpose gluten-free flour blend that mimics regular flour without the need for additional binders. The combination of oil instead of butter keeps the cupcakes moist while maintaining a dairy-free status.
Eggs provide structure and help the cupcakes rise properly in the oven. The baking powder ensures adequate lift, creating that desirable dome shape on top of each cupcake.
Understanding Gluten-Free Flour Blends
Choosing the right gluten-free flour makes all the difference in your final results. All-purpose gluten-free flour blends typically contain a mix of rice flour, potato starch, and tapioca starch. Some brands also include xanthan gum, which helps bind ingredients together in the absence of gluten.
This recipe works best with a 1-to-1 gluten-free baking flour that already contains stabilizers. Measuring flour correctly is critical when baking gluten-free, so use a kitchen scale when possible for the most accurate results.
The Role of Oil in Dairy-Free Cupcakes
Using oil instead of butter creates a different texture in baked goods. Oil-based cupcakes tend to stay moist longer than those made with butter. The neutral flavor of vegetable oil allows the vanilla to be the star of these cupcakes. You can substitute other oils like canola, avocado, or light olive oil without affecting the taste. Oil also makes the mixing process simpler since you don’t need to cream butter and sugar. This means less time preparing and fewer dishes to clean afterward.
Getting the Best Texture from Your Cupcakes
Room temperature ingredients mix together more smoothly and create better texture. Take your eggs out of the refrigerator about 30 minutes before you start baking. The mixing time matters too, beating the eggs with oil and sugar for a full minute incorporates air into the batter.
This air helps create a lighter cupcake rather than a dense, heavy one. Avoid overmixing once you add the flour, as this can make gluten-free cupcakes gummy. Mix just until the ingredients combine and no dry streaks remain.
Proper Baking Temperature and Timing
Oven temperature accuracy is essential for consistent baking results. An oven thermometer can help you verify that your oven heats to the correct temperature. Baking at 350°F allows the cupcakes to rise slowly and cook through without burning the edges. The 18 to 20 minute baking window works for standard-sized cupcakes in most ovens. Test for doneness by gently pressing the center of a cupcake – it should spring back when ready. A toothpick inserted in the center should come out clean or with just a few moist crumbs.
Cooling Cupcakes Before Frosting
Patience during the cooling process prevents frosting disasters. Cupcakes need to cool completely before you add any frosting or the frosting will melt and slide off. Letting them rest in the pan for five minutes allows the structure to set. Transferring them to a cooling rack after this brief rest lets air circulate around all sides. Complete cooling takes about 30 to 45 minutes at room temperature. If you’re in a hurry, you can place cooled cupcakes in the refrigerator for 10 minutes to speed up the process.
Making Dairy-Free Frosting That Tastes Amazing
The frosting on these cupcakes is just as important as the cake itself. Dairy-free butter has come a long way in recent years and works beautifully in frosting. Make sure your dairy-free butter is at room temperature so it beats to a smooth, creamy consistency. Starting with butter and vanilla extract before adding sugar prevents the frosting from becoming lumpy. Adding powdered sugar gradually and alternating with milk helps you control the texture. The result is a smooth, pipeable frosting that holds its shape.
Adjusting Frosting Consistency
Frosting consistency can make or break your decorating efforts. Too thick and it won’t spread smoothly or pipe through a decorating tip. Too thin and it will run off the cupcakes and lose its shape. The two tablespoons of dairy-free milk in this recipe create a good starting point. Add more milk one teaspoon at a time if you need thinner frosting for spreading. If your frosting becomes too thin, add more powdered sugar a quarter cup at a time. Room temperature affects frosting too – warm kitchens may require less liquid.
Vanilla Extract Versus Vanilla Bean Paste
Both vanilla extract and vanilla bean paste work in this recipe with slightly different results. Pure vanilla extract provides clean, classic vanilla flavor throughout the cupcakes and frosting. Vanilla bean paste contains actual vanilla bean seeds, creating small specks in your batter and frosting. This gives a more gourmet appearance and slightly more intense vanilla flavor. Make sure any vanilla product you choose is labeled gluten-free, as some contain additives. The difference in cost is significant, so save vanilla bean paste for special occasions if budget is a concern.
Storing Your Gluten-Free Cupcakes
Proper storage keeps your cupcakes fresh for several days. Unfrosted cupcakes can be stored in an airtight container at room temperature for up to three days. Frosted cupcakes should be refrigerated if your kitchen is warm, though this may cause the frosting to firm up. Bring refrigerated cupcakes to room temperature about 30 minutes before serving for the best texture. You can freeze unfrosted cupcakes for up to three months when wrapped tightly. Thaw frozen cupcakes in the refrigerator overnight, then bring to room temperature before frosting.
Decorating Ideas for Simple Elegance
These vanilla cupcakes serve as a blank canvas for creative decorating. A simple swirl of frosting using a piping bag and star tip creates a professional look. Sprinkles add color and fun for birthday celebrations or kid-friendly events. Fresh berries on top provide natural sweetness and a pop of color. Edible flowers create an elegant presentation for showers or spring gatherings. Keep decorations gluten-free by checking labels on sprinkles and other toppings.
Common Problems and Solutions
Dense, heavy cupcakes usually result from overmixing the batter or incorrect flour measurements. Weigh your flour when possible or use the spoon-and-level method for measuring. Cupcakes that sink in the middle often indicate underbaking or opening the oven door too early. Wait until at least 15 minutes have passed before checking on your cupcakes. Dry cupcakes can happen from overbaking or using too much flour. Set a timer and check for doneness at the minimum baking time. Grainy frosting means the powdered sugar wasn’t beaten long enough or the butter was too cold.
Making Cupcakes for Special Diets
This recipe already accommodates gluten-free and dairy-free needs. For egg-free cupcakes, you can try commercial egg replacers, though results may vary. Each egg can be replaced with a flax egg made from one tablespoon ground flaxseed and three tablespoons water. The texture will be slightly different but still enjoyable. For refined sugar-free options, coconut sugar can replace granulated sugar in the cupcakes. Powdered sugar alternatives for frosting are trickier and may affect texture. Always test dietary substitutions with a small batch first.
Scaling the Recipe Up or Down
This recipe makes 12 standard cupcakes, perfect for small gatherings. To make 24 cupcakes, simply double all ingredients and bake in batches if needed. For mini cupcakes, reduce baking time to 10 to 12 minutes and check early. The recipe can be cut in half for just six cupcakes if you’re baking for a smaller group. Keep the same oven temperature regardless of batch size. Frosting quantity can be adjusted based on how generously you like to frost your cupcakes.
Flavor Variations to Try
Once you master the basic vanilla version, experiment with different flavors. Add cocoa powder to create chocolate cupcakes, reducing the flour slightly to compensate. Lemon zest and juice can replace vanilla for citrus cupcakes. Almond extract creates a different flavor profile that pairs well with fruit toppings. Cinnamon and nutmeg turn these into spice cupcakes perfect for fall. Food coloring can make your cupcakes festive for holidays without changing the taste.
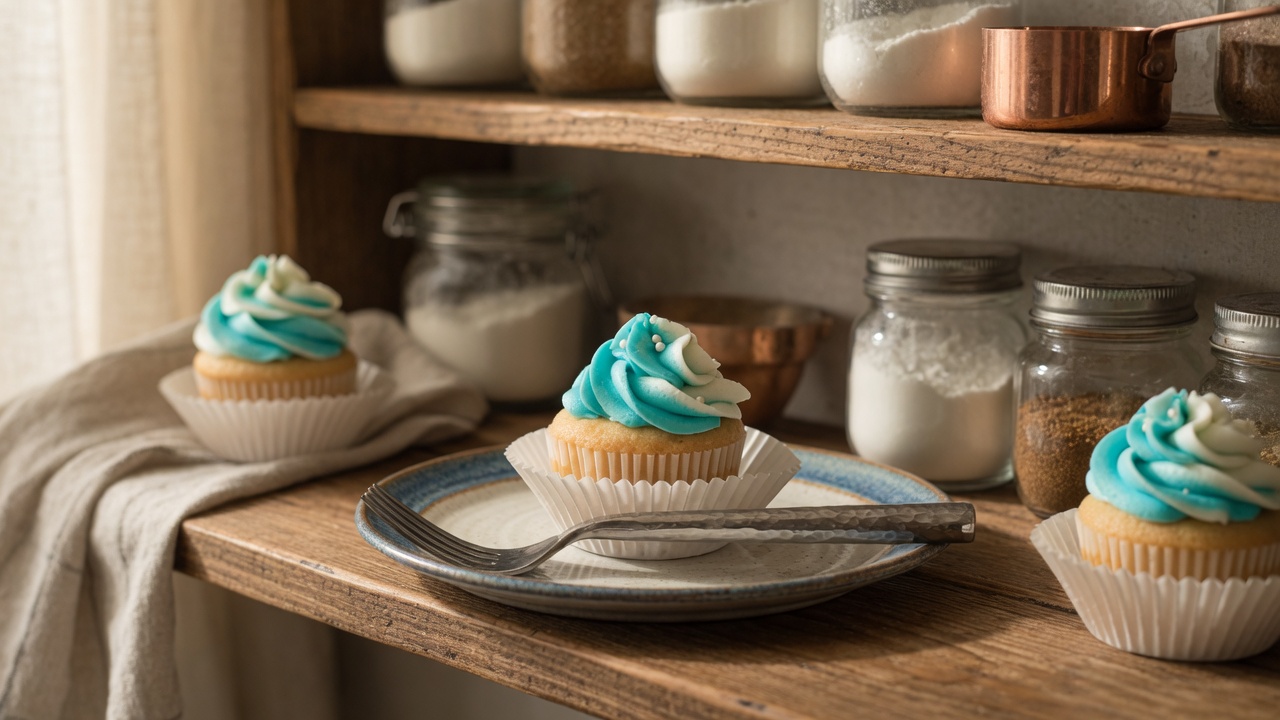
Gluten-Free Vanilla Cupcakes
Light, fluffy vanilla cupcakes made without gluten or dairy. These bakery-style treats feature a tender crumb and smooth vanilla frosting that everyone can enjoy.
12
cupcakes15
minutes18
minutes590
kcal33
minutesIngredients
- For the cupcakes:
½ cup vegetable oil (4 oz.)
¾ cup granulated sugar (160g)
2 large eggs, room temperature
1 ¼ cups all purpose gluten-free flour blend (180g)
¼ teaspoon salt
1 ¾ teaspoons baking powder
½ cup dairy-free milk (4 oz.)
2 teaspoons gluten free vanilla extract
- For the frosting:
½ cup dairy-free butter, room temperature (4 oz.)
1 teaspoon gluten free vanilla extract
3 cups powdered sugar (360g)
2 tablespoons dairy-free milk
Directions
- Heat oven to 350°F and place rack in center position. Line a 12-cup cupcake pan with paper liners.
- Combine oil and sugar in a medium bowl. Add eggs and beat with electric mixer on medium speed for one minute until well blended.
- Add gluten-free flour, salt, baking powder, dairy-free milk, and vanilla extract to the bowl. Beat on medium speed for one minute until smooth.
- Divide batter evenly among cupcake liners. Bake for 18 to 20 minutes until centers spring back when touched and tops are lightly golden.
- Cool cupcakes in pan for five minutes, then transfer to a wire rack to cool completely. Beat dairy-free butter and vanilla until creamy. Gradually add powdered sugar one cup at a time, alternating with milk. Frost cooled cupcakes.
Nutrition Facts
- Calories: 590kcal
- Fat: 20g
- Carbohydrates: 98g
- Fiber: 1g
- Sugar: 77g
- Protein: 4g


