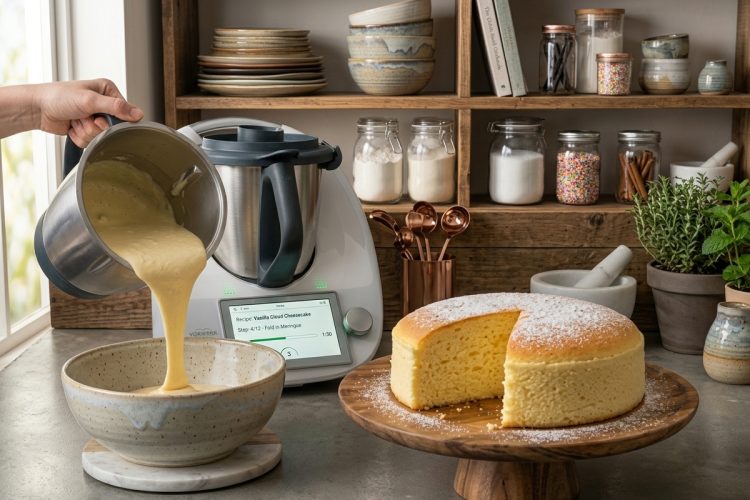
Making a vanilla cake in your Thermomix is one of the easiest baking projects you can tackle. This recipe produces a moist, tender cake with a classic vanilla flavor that everyone loves. The Thermomix does most of the work for you, mixing the batter in seconds with minimal cleanup. From start to finish, you can have a freshly baked cake ready in about 40 minutes. This simple recipe is perfect for birthdays, afternoon tea, or any time you want homemade cake without the fuss.
Why Use a Thermomix for Baking
The Thermomix makes baking faster and simpler than traditional mixing methods. This all-in-one appliance combines ingredients evenly and thoroughly in just seconds. Using a Thermomix means fewer dishes to wash since everything happens in one bowl. The precise speed settings give you consistent results every time you bake. Even beginners can make professional-quality cakes with minimal effort using this machine.
Understanding the Basic Vanilla Cake Recipe
This vanilla cake uses equal amounts of butter, sugar, and flour for a balanced flavor and texture. The recipe follows a classic creaming method where butter and sugar mix first. Eggs add structure and richness while helping the cake rise properly. Self-raising flour already contains baking powder, so you do not need additional leavening agents. Vanilla extract provides the signature flavor that makes this cake universally appealing.
Choosing Quality Ingredients for Best Results
Using good quality butter makes a noticeable difference in both flavor and texture. Real vanilla extract tastes much better than imitation vanilla flavoring. Fresh eggs at room temperature incorporate better into the batter than cold eggs. Self-raising flour should be fresh and not expired for proper rising. Caster sugar dissolves more easily than regular granulated sugar, creating a finer cake crumb.
Preparing Your Cake Tin Properly
Greasing and lining your cake tin prevents sticking and ensures easy removal. Use butter or cooking spray to grease the bottom and sides of the tin. Cut baking paper to fit the bottom of your 20cm round tin perfectly. Lining the tin with paper makes cleanup easier and protects the cake bottom from over-browning. Proper preparation of the tin is important for a cake that releases cleanly.
Setting Up Your Oven
Preheat your oven to 175 degrees Celsius if you have a fan-forced oven. Fan-forced ovens circulate hot air for more even baking and faster cooking times. If you have a conventional oven without a fan, increase the temperature to 190 degrees Celsius. Make sure the oven rack is positioned in the center for even heat distribution. Always preheat for at least 10 minutes before baking to ensure accurate temperature.
Creaming Butter and Sugar in the Thermomix
Place the butter and caster sugar into the clean Thermomix bowl. Mix on Speed 5 for 15 seconds to combine and cream the mixture. The butter and sugar should become lighter in color and slightly fluffy. Creaming incorporates air into the batter, which helps create a lighter cake texture. Stop and scrape down the sides if needed, though the Thermomix usually mixes very thoroughly.
Adding Eggs and Dry Ingredients
Add all four eggs to the creamed butter and sugar in the Thermomix bowl. Include the pinch of salt, vanilla extract, and self-raising flour all at once. Mix on Speed 5 for 15 seconds to combine everything together. Stop the machine and scrape down the sides of the bowl with a spatula. Mix for another 10 seconds on Speed 5 to ensure everything is fully incorporated.
Checking Your Cake Batter Consistency
The finished batter should be smooth, creamy, and free of lumps. It should fall slowly from a spoon in thick ribbons. If you see streaks of flour, mix for a few more seconds. The batter should be pale yellow and have a slight sheen from the butter. Do not over-mix once the flour is added, as this can make the cake tough.
Baking Your Vanilla Cake
Pour the batter into your prepared cake tin and smooth the top with a spatula. Tap the tin gently on the counter a few times to release air bubbles. Place the tin in the preheated oven on the center rack. Bake for 25 to 30 minutes, checking at the 25-minute mark. Every oven is different, so timing may vary slightly.
Testing for Doneness
Insert a wooden skewer or toothpick into the center of the cake. If it comes out clean or with just a few dry crumbs, the cake is done. If the skewer has wet batter on it, bake for another 3 to 5 minutes and test again. The cake should be golden brown on top and pulling slightly away from the tin sides. The top should spring back when lightly pressed with a finger.
Cooling the Cake Properly
Let the cake cool in the tin for 15 minutes after removing it from the oven. This resting period allows the cake to firm up and makes it easier to handle. After 15 minutes, turn the cake out onto a wire cooling rack. Remove the baking paper from the bottom of the cake. Allow the cake to cool completely before adding frosting, which takes about an hour.
Making Buttercream Frosting in the Thermomix
Place the icing sugar mixture into a clean, dry Thermomix bowl. Mix on Speed 9 for 10 seconds to sift the sugar and remove any lumps. Sifting creates a smoother, creamier frosting without grainy texture. Add room temperature butter, milk, vanilla extract, and food coloring if using. Mix on Speed 4 for 30 seconds until the buttercream is light and fluffy.
Why Room Temperature Butter Matters
Butter at room temperature blends smoothly with the other frosting ingredients. Cold butter creates lumps and does not mix evenly in the frosting. Butter that is too soft or melted makes the frosting runny and difficult to spread. Leave butter out for about an hour before making frosting to reach the right temperature. Room temperature butter should be soft enough to press a finger into easily.
Adjusting Buttercream Consistency
If your buttercream seems too thick, add another tablespoon of milk and mix briefly. If it is too thin, add more icing sugar a tablespoon at a time until it reaches spreading consistency. The perfect buttercream should hold its shape but spread smoothly over the cake. Temperature affects consistency, so let the frosting sit a few minutes if it seems runny. You can also refrigerate it briefly to firm it up if needed.
Adding Food Coloring
Food coloring is completely optional and just adds visual interest to your cake. Start with just one drop of coloring and mix it in before adding more. Gel food coloring gives more vibrant colors than liquid coloring without affecting consistency. You can use any color you like or skip it entirely for classic white frosting. Add coloring gradually because it is easier to add more than to lighten an overly dark color.
Frosting Your Cooled Cake
Make sure the cake is completely cool before adding frosting to prevent melting. Place a large dollop of buttercream on top of the cake. Use an offset spatula or butter knife to spread the frosting evenly across the top. Work the frosting over the edges and down the sides if desired. Smooth or create swirls and patterns in the frosting as you prefer.
Decorating Options
Keep the cake simple with just buttercream, or add sprinkles for extra fun. Fresh flowers, berries, or fruit make beautiful natural decorations. Chocolate shavings or curls add elegance and extra flavor. Piped buttercream rosettes or borders create a more formal look. Let your creativity guide you based on the occasion and your skill level.
Storing Your Vanilla Cake
Keep leftover cake in an airtight container at room temperature for up to four days. The container prevents the cake from drying out and keeps it fresh. Do not refrigerate unless your kitchen is very warm, as refrigeration can dry out the cake. If you do refrigerate, let the cake come to room temperature before serving for best texture. Frosted cake stays fresh just as long as unfrosted cake when properly stored.
Serving Suggestions
Serve slices of vanilla cake with fresh berries and whipped cream for a simple dessert. A cup of tea or coffee complements the sweet vanilla flavor perfectly. This cake works well for birthday celebrations when decorated festively. Cut smaller pieces for afternoon tea or larger slices for dessert. Vanilla cake pairs well with ice cream, custard, or fruit compote.
Making This Recipe Without a Thermomix
If you do not have a Thermomix, you can make this cake with a stand mixer or hand beaters. Cream the butter and sugar for about 3 minutes until light and fluffy. Add eggs one at a time, beating well after each addition. Fold in the flour gently by hand or mix on low speed just until combined. The baking process and timing remain the same regardless of mixing method.
Common Baking Mistakes to Avoid
Opening the oven door too early can cause the cake to sink in the middle. Using old or expired self-raising flour results in poor rising. Adding eggs straight from the refrigerator can cause the batter to curdle. Over-mixing once flour is added creates a tough, dense cake. Not cooling the cake completely before frosting causes the buttercream to melt.
Troubleshooting Texture Problems
A dense, heavy cake usually means the butter and sugar were not creamed enough. A dry cake happens from over-baking or using too much flour. Sunken centers result from under-baking or opening the oven too soon. Uneven rising indicates incorrect oven temperature or poorly mixed batter. Large holes in the cake come from not tapping out air bubbles before baking.
Scaling the Recipe for Different Sizes
This recipe works perfectly in a 20cm round tin as written. For a larger cake, double the recipe and use two tins or one larger tin. Adjust baking time accordingly, adding 5 to 10 minutes for larger cakes. For cupcakes, divide the batter among 12 muffin cups and bake for 15 to 18 minutes. Always test for doneness rather than relying only on time.
Cost Analysis of Homemade Cake
Making this cake at home costs approximately five dollars for all ingredients. A similar cake from a bakery would cost three to four times as much. Homemade cake contains no preservatives or artificial ingredients. You control the quality of every ingredient that goes into your cake. Baking at home is economical and gives you fresh, delicious results.
Flavor Variations to Try
Add lemon zest and juice for a citrus version of this vanilla cake. Mix in cocoa powder for a chocolate variation. Stir in fresh or frozen berries for a fruity twist. Replace vanilla extract with almond extract for a different flavor profile. Add instant coffee powder for a subtle coffee-flavored cake.
Teaching Kids to Bake
This simple recipe is perfect for teaching children basic baking skills. Kids can help measure ingredients and press the Thermomix buttons. They learn about following directions and the science of baking. Decorating the cake allows creative expression and builds confidence. Baking together creates memories and teaches valuable life skills.
Making Cake for Special Diets
This recipe is not suitable for gluten-free diets without ingredient substitutions. You can try using gluten-free self-raising flour, though results may vary. For dairy-free cake, replace butter with dairy-free margarine and use non-dairy milk in frosting. The recipe is already vegetarian but contains eggs and dairy. Making substitutions may change texture and flavor slightly.
Why Homemade Beats Store-Bought
Homemade vanilla cake tastes fresher and more flavorful than boxed mixes. You know exactly what ingredients are in your cake with no hidden additives. The texture is lighter and more tender than commercial cakes. Making cake from scratch is satisfying and impresses guests. Fresh cake made with love always tastes better than anything from a box.
Planning Ahead for Events
This cake can be baked a day ahead and stored unfrosted at room temperature. Frost the cake on the day of serving for the best appearance and taste. The unfrosted cake also freezes well for up to three months when wrapped properly. Thaw frozen cake at room temperature for several hours before frosting. Making components ahead reduces stress when preparing for parties or gatherings.
Building Baking Confidence
Starting with simple recipes like this builds your skills and confidence in the kitchen. Success with basic cakes encourages you to try more complex recipes. Each time you bake, you learn more about how ingredients work together. The Thermomix makes the process less intimidating for nervous bakers. With practice, baking becomes easier and more enjoyable.
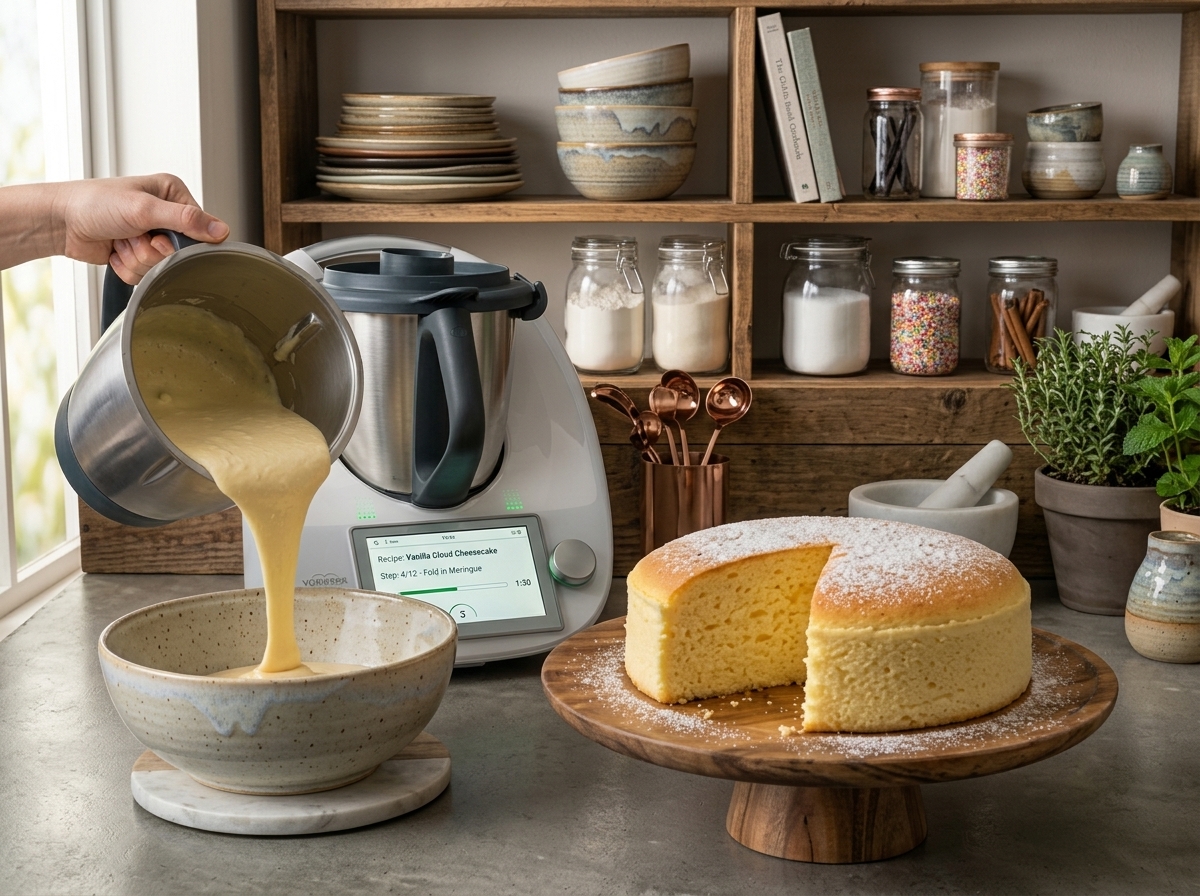
Thermomix Vanilla Cloud Cake
A simple, moist vanilla cake made effortlessly in the Thermomix and topped with creamy homemade buttercream frosting. Perfect for birthdays, celebrations, or everyday treats.
12
servings15
minutes25
minutes40
minutesIngredients
- For the vanilla cake:
200g butter
200g caster sugar
4 eggs
Pinch of salt
2 teaspoons vanilla extract
200g self-raising flour
- For the buttercream:
300g icing sugar mixture
185g butter, room temperature
2 tablespoons milk
1 teaspoon vanilla extract
1 drop pink food coloring (optional)
Directions
- Preheat oven to 175°C (fan-forced) and grease and line a 20cm round cake tin with baking paper.
- Place butter and caster sugar in Thermomix bowl and mix for 15 seconds on Speed 5.
- Add eggs, salt, vanilla extract, and self-raising flour, then mix for 15 seconds on Speed 5, scrape down sides, and mix another 10 seconds on Speed 5.
- Pour batter into prepared tin and bake for 25-30 minutes until a skewer inserted in the center comes out clean.
- Cool cake in tin for 15 minutes, then transfer to a wire rack to cool completely before frosting.
- For buttercream, place icing sugar in clean Thermomix bowl and mix 10 seconds on Speed 9 to sift, then add butter, milk, vanilla, and food coloring and mix 30 seconds on Speed 4 until fluffy.
- Spread buttercream over cooled cake and serve.
Notes
- Storage: Keep leftover cake in an airtight container at room temperature for up to 4 days.
- Oven Temperature: Use 175°C for fan-forced ovens. Increase to 190°C for conventional ovens without a fan.
- Food Coloring: This is completely optional. Start with one drop and add more if desired for deeper color.


