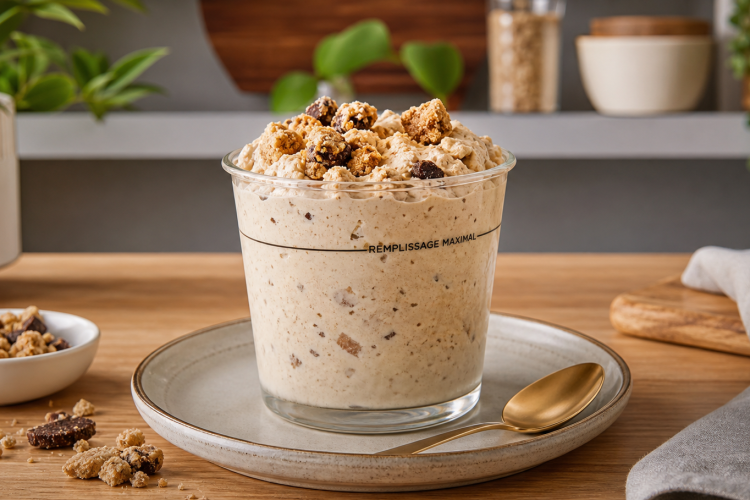
Chunky monkey has long been a beloved ice cream flavor, built around the familiar combination of banana, chocolate, and walnuts, and this version brings that same flavor profile into a genuinely nutritious, protein-forward frozen treat. Made in the Ninja Creami, this recipe transforms a handful of simple ingredients into a creamy, scoopable dessert without relying on heavy cream, refined sugar, or any of the ingredients typically found in traditional ice cream. It works well as a post-workout treat, a lighter dessert option, or simply a way to satisfy a chocolate and banana craving without straying from your nutritional goals.
Why the Ninja Creami Is Ideal for This Recipe
The Ninja Creami operates on a completely different principle than a traditional ice cream maker, starting with a fully frozen block rather than churning a liquid base as it freezes. This machine spins the frozen block at high speed, breaking down the ice crystals into a smooth, creamy texture that closely resembles traditional ice cream, even when the base itself contains far less fat and sugar than a classic recipe would call for. This approach makes it possible to build genuinely healthy ice cream recipes, like this banana and protein-based version, without sacrificing the rich, creamy mouthfeel people expect from a proper scoop of ice cream.
Bananas: The Natural Base for Both Flavor and Texture
Ripe bananas serve as the foundation of this recipe, providing natural sweetness along with a creamy texture once frozen and spun that helps reduce the need for any added sugar. Freezing whole banana halves directly in the container before blending in the remaining ingredients allows the banana to contribute both flavor and body to the final ice cream, working in tandem with the protein-rich milk mixture poured over the top. Because bananas naturally thicken and become creamy when frozen and processed, they play a functional role in this recipe well beyond simply adding flavor.
Milk: Building the Creamy Liquid Base
A cup of milk, plus a small additional tablespoon, gets blended together with the other liquid ingredients to create the base that gets poured directly over the sliced bananas before freezing. This recipe is flexible when it comes to milk choice, working equally well with traditional dairy milk or a non-dairy alternative, which makes it accessible for a wide range of dietary preferences and restrictions. The milk not only contributes to the overall creaminess of the finished ice cream but also helps the protein powder and vanilla extract blend smoothly into a consistent mixture before it goes into the freezer.
Vanilla Protein Powder: The Nutritional Backbone
Half a cup of vanilla protein powder is what transforms this recipe from a simple frozen banana treat into a genuinely high-protein dessert, adding a substantial nutritional boost without requiring any complicated preparation. Blending the protein powder directly with the milk before pouring it over the bananas ensures it dissolves evenly, preventing any clumping or uneven texture once the mixture freezes and gets spun in the Ninja Creami. Because protein powder brands vary somewhat in sweetness, texture, and flavor intensity, the final result can shift slightly depending on which product is used, though the overall method remains the same regardless of brand.
Vanilla Extract: Rounding Out the Flavor Profile
A teaspoon of vanilla extract works alongside the protein powder to deepen the overall flavor of the ice cream base, adding a warm, familiar note that complements both the banana and the eventual chocolate mix-ins. Without this small addition, the finished ice cream can taste slightly flat, even with the natural sweetness of the bananas and the flavor already present in the protein powder. Vanilla extract tends to work quietly in the background of a recipe like this, enhancing the other flavors rather than standing out as a distinct taste on its own.
Chocolate Chips or Chunks: The Signature Chunky Monkey Element
No chunky monkey flavored dessert would be complete without chocolate, and this recipe calls for a quarter cup of chocolate chips or chunks folded in after the initial spin rather than blended into the base itself. Adding the chocolate at this later stage helps preserve distinct pockets of chocolate throughout the finished ice cream, rather than having it blend completely into the banana and protein base. This approach keeps the chocolate as a noticeable textural and flavor element in every scoop, staying true to the classic chunky monkey flavor combination.
Walnuts: Adding Crunch and Classic Flavor
A small amount of walnuts, about an eighth of a cup, rounds out the chunky monkey flavor profile by introducing a satisfying crunch that contrasts nicely against the smooth, creamy base. Like the chocolate, the walnuts get added after the initial spin rather than blended into the mixture beforehand, which helps them retain their texture rather than breaking down completely during the freezing and spinning process. This combination of banana, chocolate, and walnuts is what gives the finished ice cream its recognizable chunky monkey character.
Preparing the Bananas for Freezing
The process begins with peeling the bananas and slicing them in half lengthwise, then arranging all four halves upright inside the Ninja Creami container. Positioning the banana halves this way helps distribute them evenly throughout the container, ensuring the liquid mixture poured over them in the next step surrounds the banana pieces as thoroughly as possible before everything freezes together into one solid block.
Blending the Milk Mixture
While the bananas are arranged in the container, the milk, protein powder, and vanilla extract get combined separately in a small blender or blender bottle, mixed together until smooth and fully incorporated. This step ensures the protein powder dissolves completely rather than clumping once it hits the cold banana pieces, resulting in a more even texture once the entire mixture is frozen and later spun into ice cream. Once blended, this mixture gets poured directly over the banana halves already arranged in the container.
Freezing the Mixture Solid
Once the milk mixture has been poured over the bananas, the container gets covered and placed in the freezer on a flat surface, where it needs to remain undisturbed for a full 24 hours. This extended freezing period is necessary to create the solid, uniformly frozen block that the Ninja Creami requires in order to process the mixture properly into a smooth, ice cream-like texture. Placing the container on a flat surface during this time helps ensure the entire block freezes evenly rather than developing uneven pockets of softer or harder mixture.
Spinning the Frozen Base
After the full 24 hours of freezing, the container goes into the Ninja Creami machine, where pressing the “Light Ice Cream” button begins the spinning process that transforms the solid block into a soft, creamy texture. This setting works particularly well for a lower-sugar, protein-forward base like this one, since recipes without much added sugar tend to benefit from settings specifically designed for lighter mixtures rather than a standard ice cream setting built around higher-sugar recipes.
Adjusting the Texture After the First Spin
It is fairly common for this type of protein-based mixture to come out slightly crumbly after its first spin, since a lower-sugar base tends to freeze more solidly than a traditional ice cream mixture. If this happens, adding a tablespoon of milk directly to the spun mixture helps restore some moisture before the next step, though this addition is only necessary if the texture actually turns out crumbly rather than being a required part of every batch.
Folding in the Chocolate and Walnuts
Once the texture has been adjusted as needed, the chocolate chips and walnuts get added directly on top of the spun mixture, then pressed down into the center of the container before it goes back into the machine for a final respin. This technique helps distribute the mix-ins more evenly throughout the ice cream during the respin process, rather than leaving them concentrated only at the very top where they were initially added.
Why This Recipe Works So Well as a Post-Workout Treat
The combination of protein powder, milk, and banana in this recipe makes it a genuinely practical option to reach for after a workout, when the body benefits from a mix of protein and carbohydrates to support recovery. Unlike a typical bowl of ice cream, which tends to be heavy on sugar and light on any real nutritional value, this version delivers a meaningful amount of protein alongside the natural carbohydrates from the banana, making it a dessert that can genuinely fit into a fitness-focused routine rather than working against it. Enjoying it as an evening treat after a training session feels indulgent while still supporting your broader nutrition goals.
The Role of Bananas Beyond Flavor and Sweetness
Beyond the sweetness and creaminess bananas bring to this recipe, they also contribute a range of nutrients on their own, including potassium and a modest amount of fiber. Because the bananas are frozen whole before being blended with the milk mixture, their natural starches and sugars concentrate slightly as the water within them freezes, which is part of why frozen banana works so well as a base for lighter, dairy-reduced ice cream recipes like this one. This makes bananas a functional ingredient in this recipe rather than simply a flavoring, doing real work to create that classic ice cream texture without needing heavy cream or a large amount of added sugar.
Comparing This Recipe to Traditional Ice Cream
Traditional ice cream typically relies on a combination of heavy cream, egg yolks, and a significant amount of sugar to achieve its rich, smooth texture, all of which add up to a dessert that is calorie-dense and relatively low in protein. This chunky monkey version flips that formula, using banana and milk as the primary base while protein powder does much of the work that sugar and cream would normally handle in a conventional recipe. The result is a dessert that still delivers on texture and flavor, particularly once the chocolate and walnuts are folded in, while offering a nutritional profile that looks far more like a balanced snack than a traditional dessert.
Storing and Serving Leftovers
Because this recipe makes a single container’s worth of ice cream in the Ninja Creami, any leftovers can be returned to the freezer between servings, much like a store-bought pint would be. Ice cream made this way will naturally harden again once it goes back into the freezer, so letting it sit out for a few minutes before serving, or running it through the machine’s respin function again, can help restore a softer, more scoopable texture. Keeping the container sealed tightly between uses also helps prevent the ice cream from picking up any unwanted odors or freezer taste over time.
Scaling This Recipe for a Larger Batch
While this recipe is designed to fit a single Ninja Creami pint container, doubling the ingredients and freezing the mixture across two separate containers is a straightforward way to make a larger batch for multiple servings throughout the week. Each container still needs the full 24-hour freezing period and its own individual spin cycle in the machine, so scaling up mainly means repeating the process rather than trying to combine everything into one oversized batch. This approach works particularly well for anyone who wants to prepare several servings in advance to have on hand for quick, protein-packed desserts throughout the week.
Why Whole Frozen Bananas Matter for Texture
Slicing the bananas in half and freezing them upright, rather than mashing or blending them before freezing, plays a specific role in how this recipe turns out once it goes through the Ninja Creami. Whole frozen banana pieces freeze more solidly and evenly than a pre-blended puree would, which helps the machine’s blades break them down uniformly during the spin cycle rather than encountering uneven pockets of ice. This attention to how the banana is prepared before freezing is a small detail, but it contributes meaningfully to the smooth, consistent texture that makes this ice cream feel like a genuine dessert rather than a frozen smoothie.
Notes on Getting the Best Results
Creating a Channel for Mix-Ins
After the first spin, if there is no natural indentation or hole running down the middle of the ice cream, taking a butter knife and creating one manually can make a real difference in how well the chocolate and walnuts incorporate during the respin. Running the knife down the center, giving the mixture another quick spin, and scooping out a small amount creates the space needed to add the mix-ins more effectively, helping them blend throughout the ice cream rather than sitting only near the surface.
Choosing the Right Milk for Your Needs
Since this recipe works with both dairy and non-dairy milk, it is worth considering which option best supports the creamy texture you are hoping to achieve. Whole dairy milk tends to produce a slightly richer result thanks to its higher fat content, while non-dairy options such as almond, oat, or soy milk offer a lighter alternative that still blends smoothly with the protein powder and banana. Whichever option you choose, using a milk with a reasonably smooth, pourable consistency helps the mixture blend evenly before freezing.
Experimenting With Different Mix-In Combinations
While chocolate chips and walnuts define the classic chunky monkey flavor, this same base recipe can serve as a starting point for other flavor combinations if you want to switch things up. Swapping the walnuts for pecans, or using dark chocolate chunks in place of standard chocolate chips, can shift the flavor slightly while keeping the overall method and banana-protein base exactly the same. This flexibility makes the recipe easy to adapt to whatever mix-ins you happen to have on hand or simply prefer.
Timing Your Freezing Window
Because this recipe requires a full 24 hours in the freezer before it can be processed in the Ninja Creami, it helps to plan ahead slightly rather than expecting a same-day treat. Preparing the base the night before you plan to want ice cream, or setting it up a full day in advance of a weekend treat, ensures the mixture has adequate time to freeze into the solid block the machine needs in order to produce that smooth, creamy texture once spun.
Keeping the Protein Powder Consistent
Since the protein powder contributes so heavily to both the flavor and nutritional value of this recipe, sticking with a brand and flavor you already enjoy on its own tends to produce the most reliable results. Protein powders can differ quite a bit in how they dissolve, how sweet they taste, and how thick they make a liquid mixture, so once you find a version that works well in this recipe, it is generally worth continuing to use it for consistent results from batch to batch.
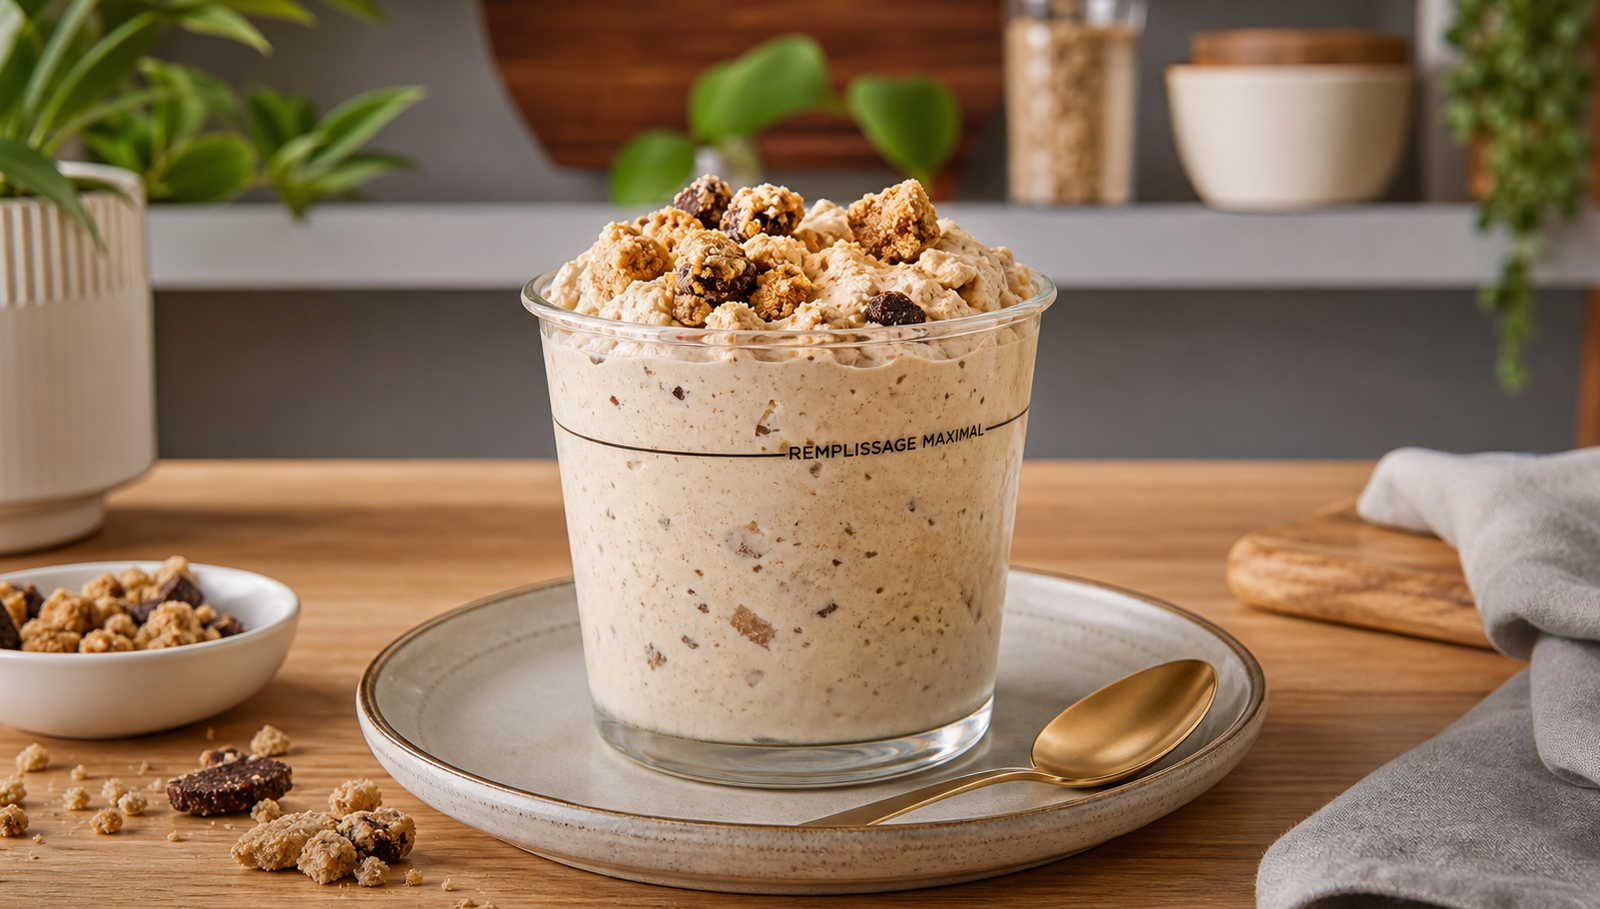
Chunky Monkey Protein Ice Cream (Ninja Creami)
A creamy, high-protein ice cream made in the Ninja Creami with frozen banana, vanilla protein powder, milk, chocolate chips, and walnuts. A lighter, nutrient-packed take on the classic chunky monkey flavor.
5
minutes24
hours24
hours5
minutesIngredients
Bananas — 2
Milk (dairy or non-dairy) — 1 cup + 1 tablespoon
Vanilla protein powder — 1/2 cup
Chocolate chips or chunks — 1/4 cup
Walnuts — 1/8 cup
Directions
- Prepare the bananas: Peel the bananas and slice them in half. Place all 4 halves upright in your Ninja Creami container.
- Blend the base: In a small blender or blender bottle, combine 1 cup milk, the protein powder, and vanilla extract, and blend until smooth. Pour over the bananas.
- Freeze: Cover and place in the freezer on a flat surface for 24 hours.
- Spin: Once frozen, place the container in your Ninja Creami and press “Light Ice Cream.”
- Adjust and add mix-ins: If the mixture is slightly crumbly, add 1 tablespoon of milk. Add the chocolate and walnuts, press them into the center, then return to the machine and press “Re-Spin.”


