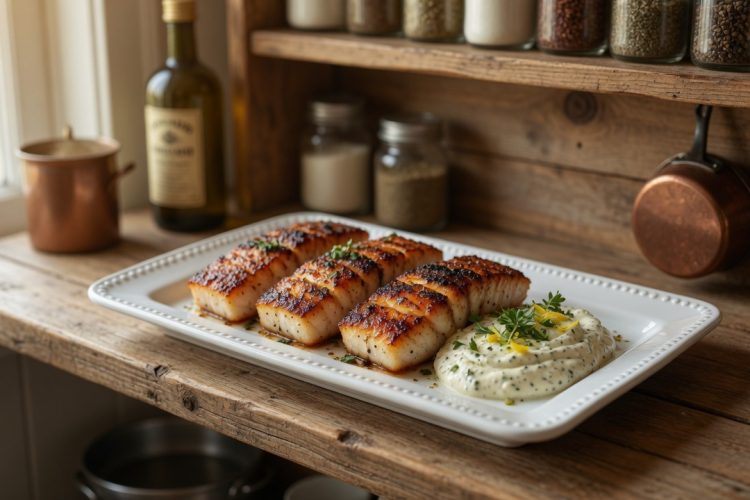
British fish and chips is one of the best-known traditional British meals, loved for its crisp battered fish, golden chips, and simple serving style. This homemade fish and chips recipe brings those familiar flavors into your kitchen without requiring complicated ingredients. Tender white fish is covered in a light batter made with flour, baking powder, and cold beer or sparkling water, then fried until crisp and golden. The chips are prepared separately in the oven for a simple homemade version.
What Makes British Fish and Chips So Good
The appeal of traditional fish and chips comes from the contrast between textures. The fish should remain moist and flaky inside while the batter becomes crisp on the outside. The chips should have browned edges with a soft, fluffy center. When served hot with tartar sauce, malt vinegar, lemon wedges, and optional mushy peas, the combination feels complete without needing many extra ingredients. This balance is what makes fish and chips such a satisfying family dinner.
Choosing the Best Fish for the Recipe
Cod, haddock, and pollock are excellent choices for homemade fish and chips because they have mild flavors and firm white flesh. Cod is especially popular in traditional British fish and chips because it becomes tender and flaky when cooked. Haddock offers a slightly stronger flavor, while pollock is a practical option when you want another white fish variety. Halibut, tilapia, and whiting can also be used according to the original recipe, although the texture can vary between different types of fish.
How to Prepare Potatoes for Crispy Chips
The potatoes are an important part of this recipe because good chips need more than simply cutting and baking potatoes. Russet potatoes are used because their texture works well for creating a soft interior and browned exterior. Cutting them into thick fries gives them the traditional appearance associated with British chips. Keeping the pieces around ½ inch wide also helps them cook evenly, so the centers have time to become tender while the edges turn golden.
Why Soaking Potatoes Matters
Soaking the cut potatoes in cold water for at least 30 minutes helps remove some of the excess starch from their surface. This can improve the texture of homemade chips and reduce sticking during cooking. After soaking, the potatoes need to be drained and dried thoroughly. Excess water can interfere with browning and may cause problems when oil is added. Taking a few extra minutes to dry the potatoes properly can make a noticeable difference in the finished chips.
Baking the Homemade Chips
This version uses the oven rather than deep-frying the chips. After the potatoes have been soaked and dried, they are tossed with olive oil and arranged in a single layer on a parchment-lined baking tray. Leaving space between the fries allows hot air to circulate around them. The potatoes are baked at 400°F (200°C) for 25–30 minutes and turned halfway through cooking. They should be golden with crisp edges before being seasoned with salt while still hot.
Making a Light and Crispy Fish Batter
The batter is made from simple pantry ingredients, but the way it is mixed is important. Flour, baking powder, salt, and optional paprika are first combined so the dry ingredients are evenly distributed. Cold beer or sparkling water is then added gradually while whisking. The goal is a smooth batter that is thick enough to coat the fish but not so heavy that it overwhelms the delicate fillet. Keeping the batter cold until frying can help create a lighter coating.
Beer or Sparkling Water for the Batter
Cold beer gives the batter a slightly richer flavor and helps create a light coating around the fish. Sparkling water provides an alcohol-free alternative while still contributing carbonation to the mixture. Both options can produce crisp battered fish when handled correctly. Whichever liquid you choose, it should be added gradually and mixed just until the batter becomes smooth. Preparing it shortly before frying is also helpful because freshly mixed batter gives the best texture.
Preparing the Fish Before Frying
Fish contains natural moisture, so it is important to pat each fillet thoroughly with paper towels before coating it. A dry surface gives the flour something to cling to and helps the batter stay attached during frying. Each fillet should first be lightly dusted with extra flour, with any excess shaken off. The floured fish is then dipped into the batter until evenly covered. Allowing extra batter to drip away before placing the fish into the oil helps create a more even coating.
Getting the Frying Oil Temperature Right
The frying oil should reach approximately 350°F (175°C) before the battered fish is added. A kitchen thermometer is the easiest way to check this temperature, but a small amount of batter can also be used as a simple test. If it rises quickly and begins bubbling, the oil is ready. Correct oil temperature is important because oil that is too cool can leave the batter greasy, while excessively hot oil may brown the coating before the fish has cooked properly.
Frying Fish Without Losing the Crisp Texture
The fish should be lowered carefully into the hot oil to prevent splashing. Avoid placing too many fillets in the pan at once because overcrowding can reduce the oil temperature. Depending on the thickness of the fish, each piece is fried for about 3–4 minutes per side. The finished batter should be golden brown and crisp, while the fish inside should be opaque and easy to separate with a fork. Once cooked, transfer the fillets to paper towels to remove excess oil.
How the Fish and Chips Come Together
Once the fish is fried and the chips are golden, serve them immediately. Place the crispy fish next to a generous portion of homemade chips and add fresh lemon wedges, tartar sauce, and malt vinegar. Mushy peas can be served on the side for a more traditional British-style meal. Fresh parsley can be used as a simple garnish. Serving the meal while everything is hot is important because the batter gradually loses its crispness as it sits.
Why Malt Vinegar Is Traditionally Served
Malt vinegar is a familiar accompaniment to British fish and chips and adds a sharp, slightly sweet acidity that cuts through the richness of the fried fish. A small amount drizzled over the chips can brighten the overall flavor without overpowering the potatoes. Fresh lemon provides a similar fresh acidity for the fish. Tartar sauce adds a creamy element, making these simple accompaniments useful for balancing the crisp coating and mild white fish.
Easy Serving Ideas for Fish and Chips
Homemade British fish and chips can be served with more than tartar sauce and lemon. Mushy peas are a classic choice, while coleslaw or a simple garden salad can add freshness. Pickled onions and pickled eggs provide a sharper contrast, while curry sauce and baked beans offer other serving options. For drinks, iced tea, lemonade, sparkling water, or a favorite soft drink can be served alongside the meal. The dish is flexible enough for both casual family dinners and gatherings.
How to Keep Fish and Chips Crispy
Crispiness depends on several small details throughout the recipe. Dry potatoes and dry fish help prevent excess moisture from interfering with cooking. Keeping the batter cold and maintaining the oil near 350°F (175°C) helps the fish develop a crisp coating. Frying in small batches prevents the oil temperature from dropping too much. Finally, avoid covering freshly fried fish with a lid because trapped steam can soften the batter. Serve the fish soon after frying for the best texture.
Storing Leftover Fish and Chips
Leftover fish should be placed in an airtight container and refrigerated for up to two days. It is best to store the fish and chips separately because the moisture from the fish can soften the potatoes. When ready to eat, reheat them in an oven at 375°F (190°C) or in an air fryer for approximately 8–10 minutes, or until heated and crisp. Microwaving is not recommended for this recipe because it can make the batter soft instead of crisp.
Using Frozen Fish for This Recipe
Frozen fish can be used when fresh fillets are not available. The fish should be completely thawed before preparation, and all visible moisture should be removed with paper towels. This drying step is especially important because wet fish can make it harder for the flour and batter to adhere. Once properly thawed and dried, the fish can be prepared in the same way as fresh cod, haddock, pollock, or another suitable white fish.
Can You Air Fry the Fish?
Traditional frying provides the characteristic crisp coating associated with British fish and chips, but an air fryer can be used as an alternative. The battered fish should be handled carefully and given enough space for air to circulate. A light spray of cooking oil can help with browning. Because air fryers differ in size and cooking power, cooking time may vary. Check the fish for doneness and make sure the coating is browned before serving.
Notes for Better Results
Keep the batter cold until you are ready to cook the fish, and avoid mixing it much longer than necessary once the liquid has been added. Make sure the fish is dry before flouring it, and do not overcrowd the frying pan. For the potatoes, soaking for 30 minutes helps remove excess starch, while thorough drying encourages better browning. If using frozen fish, thaw it fully before starting. For the crispiest meal, serve the fish and chips immediately after cooking.
Common Fish and Chips Questions
If the batter falls away from the fish, the most common reason is excess moisture on the fillet. Drying the fish thoroughly and giving it a light flour coating before dipping it into the batter can help. If the chips are not crisp enough, check that they were dried properly after soaking and arranged in a single layer. If the batter becomes greasy, the frying oil may not have been hot enough. These small preparation details have a direct effect on the final texture.
Deep-Frying the Chips Instead
The chips in this recipe are baked, but they can also be deep-fried if preferred. For a traditional double-fried texture, the potatoes can first be cooked at 325°F (163°C) until tender. They are then removed and allowed to rest before being fried again at 375°F (190°C) until golden and crisp. This method produces very crisp chips with fluffy centers, although the baked method included in this recipe provides a simpler approach using olive oil and an oven.
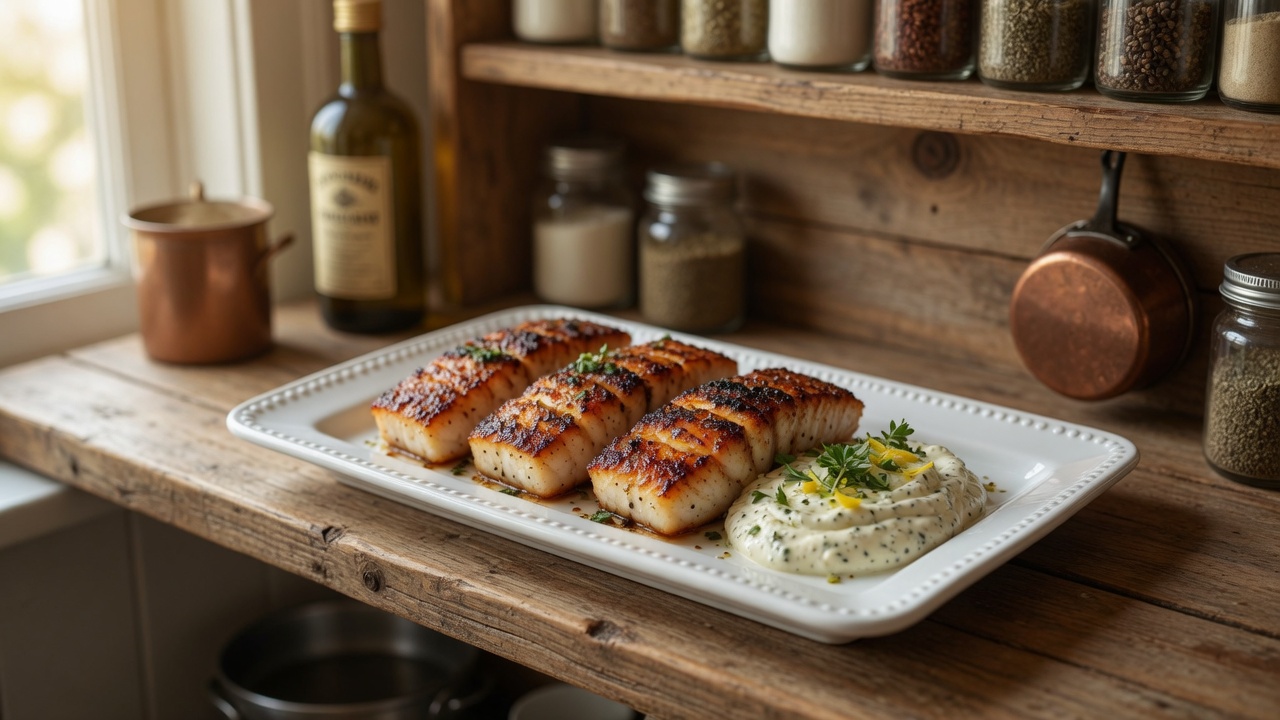
Air Fryer British Fish and Chips Recipe
Crispy battered white fish served with golden homemade potato chips, lemon wedges, malt vinegar, tartar sauce, and optional mushy peas. This traditional-style British fish and chips recipe combines flaky fish with a light, crisp coating and thick-cut oven-baked chips.
4
servings30
minutes35
minutes620
kcal30
minutes1
hour35
minutesIngredients
- For the Fish
1 pound (450g) white fish fillets (cod, haddock, or pollock)
1 cup all-purpose flour
1 teaspoon baking powder
1 teaspoon salt
½ teaspoon paprika (optional)
1 cup cold beer or sparkling water
Extra flour for dusting
Vegetable oil for frying
Lemon wedges for serving
Malt vinegar for serving
- For the Chips
4 large russet potatoes, peeled
2 tablespoons olive oil
Salt to taste
Freshly ground black pepper (optional)
- For Serving
Tartar sauce
Mushy peas (optional)
Fresh parsley for garnish
Lemon wedges
Malt vinegar
Directions
- Prepare and Soak the Potatoes
- Peel the russet potatoes and cut them into thick fries about ½ inch wide. Place them in a large bowl of cold water and soak for at least 30 minutes. Drain thoroughly and pat completely dry. Preheat the oven to 400°F (200°C), toss the potatoes with olive oil, and arrange them in one layer on a parchment-lined baking tray.
- Bake the Chips
- Bake the potatoes for 25–30 minutes, turning them halfway through cooking. Continue until the edges are golden and crisp and the centers are tender. Season with salt while the chips are still hot. If desired, add freshly ground black pepper. Keep the cooked chips warm while preparing the fish.
- Prepare the Batter and Fish
- Whisk the flour, baking powder, salt, and paprika together in a medium bowl. Gradually add the cold beer or sparkling water while whisking until smooth. Pat the fish fillets dry, lightly dust them with extra flour, and shake away the excess. Dip each fillet into the batter, coating it evenly, then allow excess batter to drip away.
- Fry the Fish
- Heat about 1 inch of vegetable oil in a deep frying pan or heavy-bottomed skillet to 350°F (175°C). Carefully place the battered fish into the hot oil without overcrowding the pan. Fry for 3–4 minutes per side, or until the coating is golden brown and crisp and the fish flakes easily with a fork. Transfer the cooked fish to paper towels to drain.
- Serve Immediately
- Arrange the crispy fish with the homemade chips and serve while hot. Add tartar sauce, fresh lemon wedges, and malt vinegar. Mushy peas can be served on the side, while fresh parsley can be used for garnish. For the best texture, serve immediately rather than allowing the fried batter to sit for a long period.
Nutrition Facts
- Calories: 620kcal
- Fat: 31g
- Carbohydrates: 46g
- Fiber: 5g
- Sugar: 3g
- Protein: 34g


